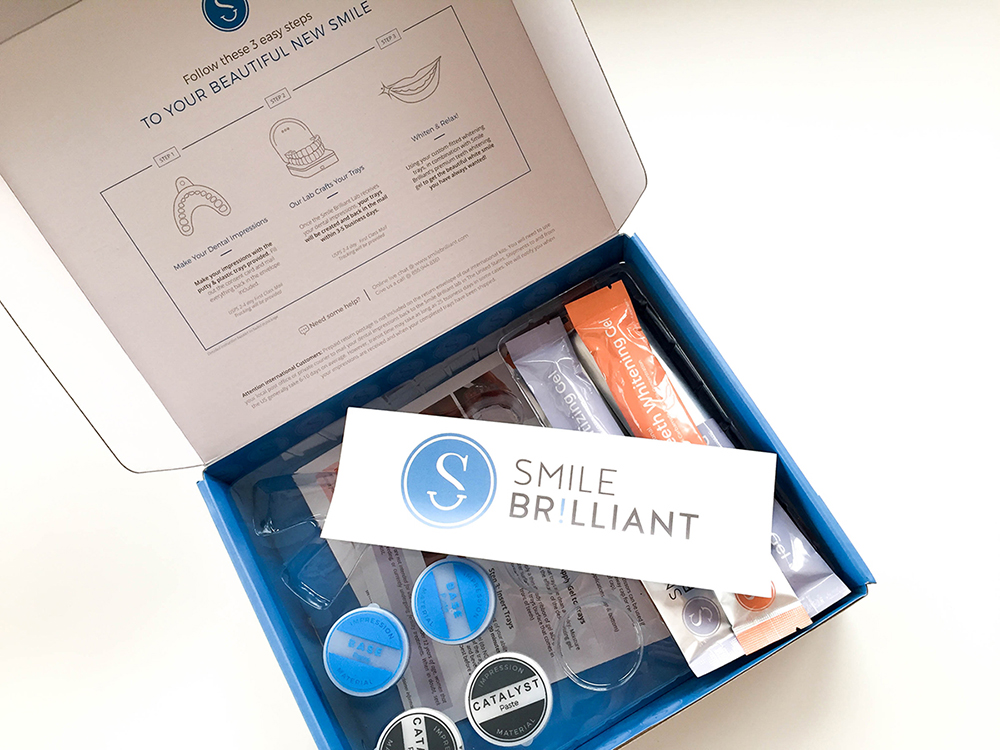
Whitening your teeth at the dentist office can be very expensive. However, there are other great options to professionally whiten your teeth on a budget and without leaving your home. That’s why Smile Brilliant is here for you. Now you can whiten your teeth at home with a custom tray that fits your teeth. Amazing, right?! Here’s how this all works…
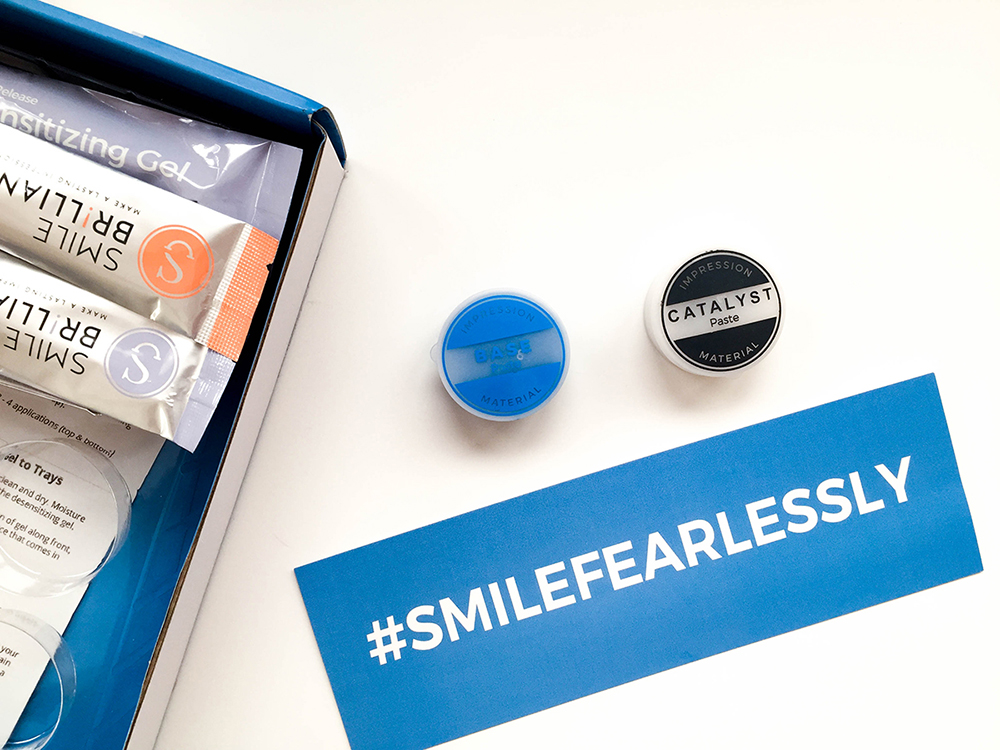
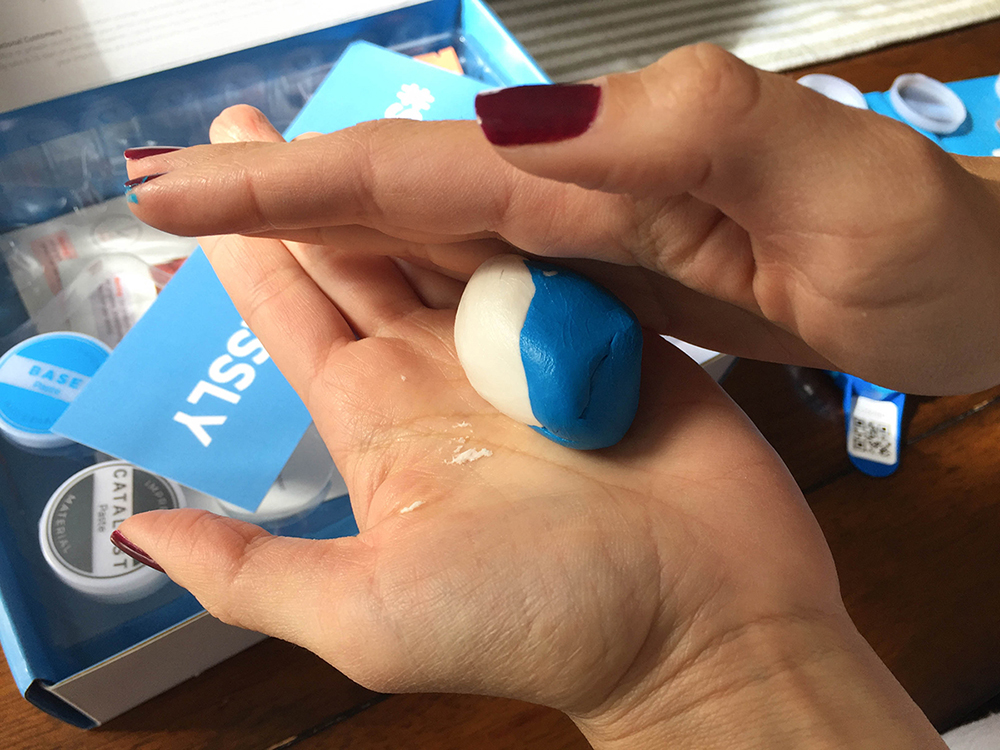
Smile Brilliant sends a box with your kit and step by step instructions on how to start the process. To start, you mix the blue and white paste from both of the provided containers. After you mix them well, you insert the combined paste into the dental trays. After the mixture has been spread in one of the trays, insert into your upper, then lower teeth to take your impressions. I would suggest doing one tray at the time because the mixture drys very fast. When both of your impressions are dry, it’s time to send them back to Smile Brilliant with the provided pre-paid envelope.
How to whiten your teeth:
- To start, brush your teeth with water. The toothpaste acts as a barrier, which slows the process down.
- Apply an even amount of whitening gel in the front part of the trays and insert them into your mouth. I started by wearing the trays for 45 minutes because I didn’t know how my teeth would react with the gel. I increased the time after I notice that my teeth felt fine and weren’t sensitive. Whiten your teeth for 1-3 hours. Read more about tooth sensitivity here.
- Brush your teeth with toothpaste after whitening.
- Apply desensitizing gel into the trays and wear it for 15-30 minutes to minimize sensitivity. Remove tray and any gel excess.
- Smile Brilliant recommends whitening teeth before bed so the desensitizing gel has time to absorb into teeth.
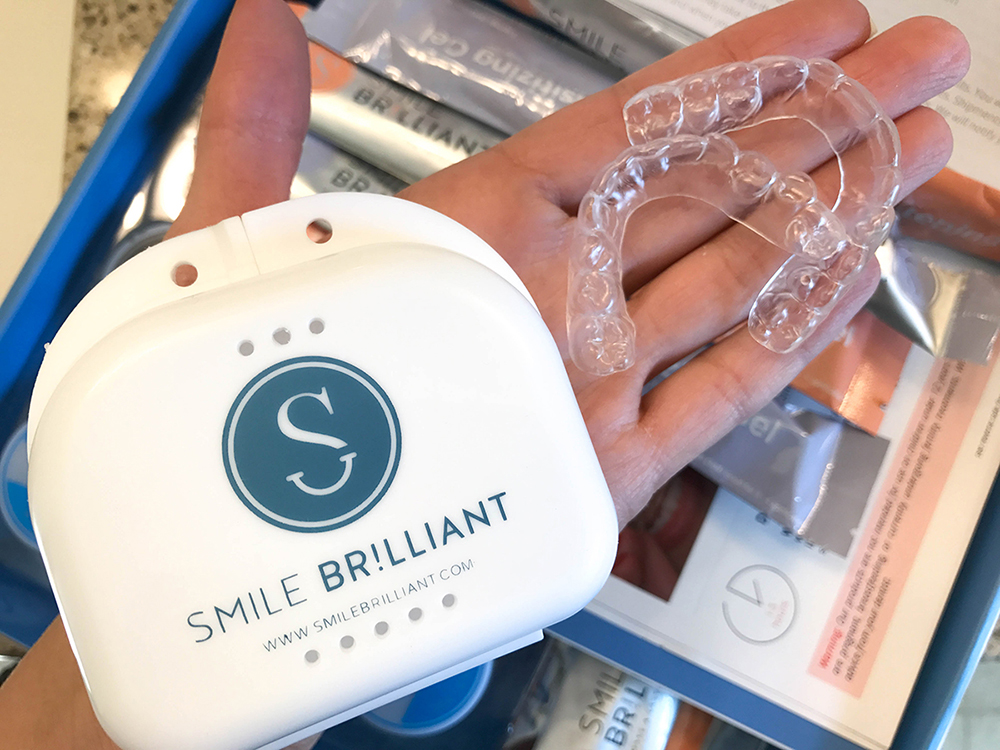
I am really happy with the results of using Smile Brilliant. I noticed a difference in my teeth after the first application. They do say that for max results you should do the process about 14 times. In my opinion, one of the best things about Smile Brilliant is the fact that they make custom fit trays (read more about it here) allowing the gel to spread evenly on your teeth. Another thing I would like to add is that every teeth is different. Some people have natural pearly white teeth and some people don’t. Each result will be different but your teeth will whiten, that’s for sure!
If you are looking to get snow-white teeth I hope you try Smile Brilliant. You can get 5% off by using my special code: COLORMESASSY. Let me know what you guys think and comment bellow.
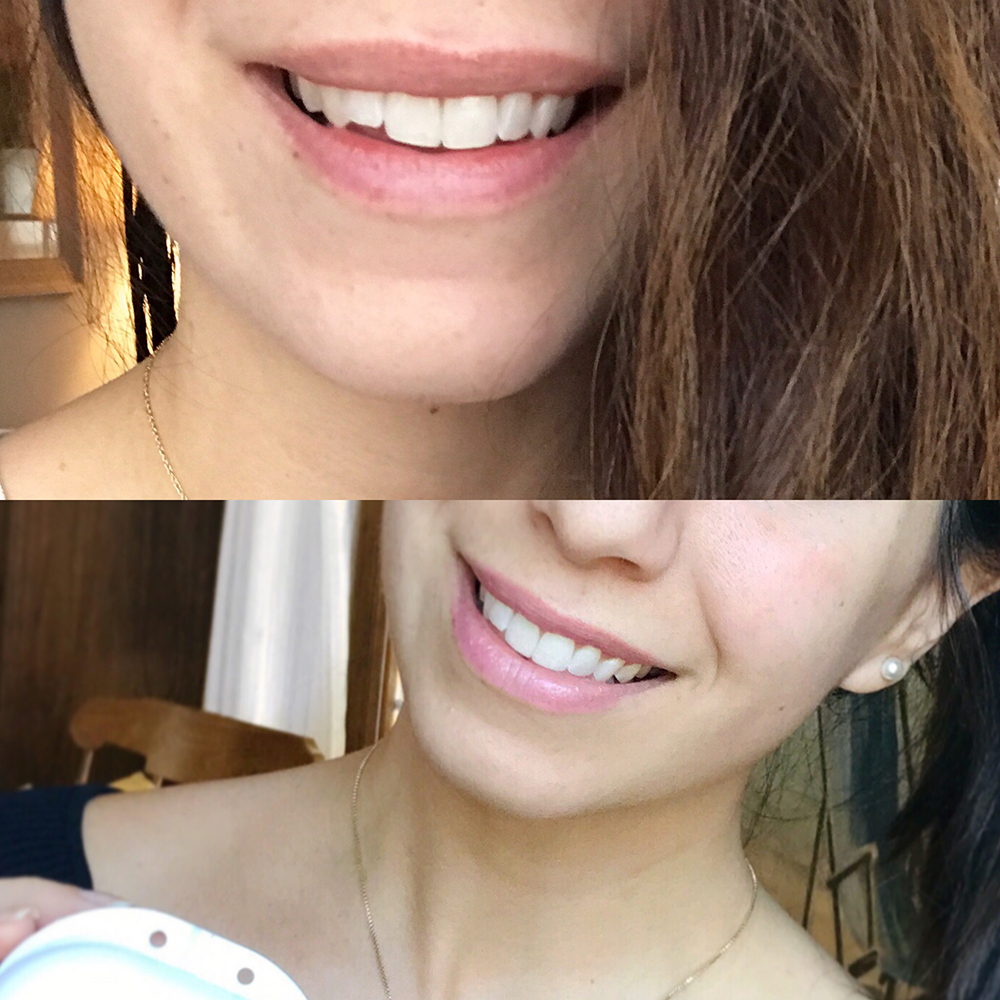
Before and after photo!
*** Click here if you want to read or watch other reviews.


")