@colormesassy

Color Me Sassy
  • Home
  • LIKEtoKNOW.it- Shop my Outfits
  • My Boutique
  • Travel
  • About Gabrielle
  • Contact
  • Holiday
    • Holiday Gift Guide
  • Contact
  • newsletter
  • join community
  • priacy policy
Color Me Sassy
  • Home
  • LIKEtoKNOW.it- Shop my Outfits
  • My Boutique
  • Travel
  • About Gabrielle
  • Contact
  • Holiday
    • Holiday Gift Guide
  • Contact
Color Me Sassy
Color Me Sassy
  • Home
  • LIKEtoKNOW.it- Shop my Outfits
  • My Boutique
  • Travel
  • About Gabrielle
  • Contact
  • Holiday
    • Holiday Gift Guide
  • Contact

@2022 – All Right Reserved. Designed and Developed by PenciDesign.

Sponsored

Virtual Wine Tour with Travel Iowa

by Gabrielle Loomis January 31, 2021
written by Gabrielle Loomis

Iowa is an excellent place for winemaking and a top destination for wine lovers.

Thank you to Travel Iowa for sponsoring this post. All opinions are my own.

This month, I had a great time joining a Zoom meeting for a Winery tour and wine tasting with four of Iowa’s Wineries. Wine tasting is one of those activities that I genuinely enjoy. Savoring wine and learning the history behind it is fascinating to me. 

You may not know this, but Iowa is an excellent place for winemaking and a top travel destination for those who enjoy wine and wineries. Most of these wineries feature more than wine. Keep reading to find out more.

I learned so much about the Wineries that joined the Virtual Tour that I can’t wait to share a little bit with all of you. 

To start, we met with the four winery owners and three other Midwest influencers. We had casual conversations and tasted delicious wines. 

MEET THE WINERIES 

CEDAR RIDGE WINERY & DISTILLERY (SWISHER, IOWA)

Cedar Ridge is a family-owned winery and distillery that also offers an event space in Swisher’s countryside. The Quint family puts only the best into their wines and spirits. They use grapes grown in Iowa, and their endless bushels of corn come straight from the fertile Midwest soil. Cedar Ridge’s estates are located along Hwy 965 and can’t be missed. 

We tasted The Nine Sixty-Fine wine during our meeting, which is a best seller for Cedar Ridge. This wine is a dry red made from 5 different grapes – Marquette, Frontenac, Marechal Foch, Petite Pearl, and Merlot. Grapes grown in the Midwest tend to have unique qualities but, on their own, incomplete. The Nine Sixty-Five’s goal is to take those unfinished puzzle pieces and put them together to make a whole picture we call home. This delicious wine is aged for 11 months, and it makes the most fantastic pairing with pork and fondant potatoes or steak.

Cedar Ridge Winery & Distillery was named the Best Winery in Iowa by Taste of Home (2018). 

PARK FARM WINERY (DURANGO, IOWA)

Park Farm Winery is a family-owned and operated vineyard, winery, and wood-fired pizza eatery set atop the rolling hills in Iowa’s Driftless Region near Bankston, Iowa – west of Dubuque. Their pizza has become as popular over the years as their wine featuring their own hand-made crust and locally grown seasonal toppings. 

Park Farm is a must-experience Midwest destination for those who want to enjoy a great glass of wine, fresh-made pizza, and live music.

Arrowhead Reserve 2019 was the wine provided for the tasting. This wine is produced from Iowa Marquette Grapes and is a dry barrel-aged red, medium-bodied with mild tannin and acidity. This wine opens up very nicely after about 10 minutes in the glass and expresses cherry and hints of black currant with clove and black pepper spicy notes. It pairs nicely with a steak or burger and goes well with dark chocolate, giving a chocolate-covered cherry finish. 

The Arrowhead Reserve is aged in 1/3’s new French Oak, 1/3 in seasoned barrels, and 1/3 in neutral barrels, adding additional complexity to the wine. 

This wine’s name comes from an arrowhead Dave Cushman’s brother found in their Marquette Vineyard that’s been dated 10-12 thousand years old. That was an interesting story that we learned from Dave Cushman. 

RED BARN WINES (STORY CITY, IOWA)

Red Barn Wines began with a dream of producing high-quality cold climate grapes coupled with creative winemaking skills to create fine Iowa wines. Red Barn owners have long appreciated good wines and have visited the best wine-producing areas of the world. Through their travels, they became convinced that with the appropriate land, good cold-climate adapted grapes, and excellent winemaking skills, producing fine wines in Central Iowa could be a reality.

The grapes used in Red Barn’s wines are grown on six acres with a number of the best cold-climate grape varieties. Grapes are harvested to produce their estate-grown wines, and the owners are continually experimenting with grape production and winemaking techniques to enhance the quality of their wines.

We all had the chance to taste the Red Barn Wines – 2017 Marquette. This wine is a rich, dry, dark ruby color wine, pleasantly medium-bodied, and blessed with good tannins and balance. This Marquette has a complex structure with notes of black currant, tart cherry, berries, black pepper, and spice in the finish. It was interesting to hear that Red Barn Wines lets the grapes fully mature on the vine to lower acidity and bring out the best in this wine, which is mildly oaked with French oak. This wine contains 13.7% alcohol (ABV), with than 0.1% in residual sugar. The 2017 Marquette won silver medals in Indy and Mid-America Competitions, significant accomplishments for Red Barn!

COVERED BRIDGES WINERY (WINTERSET, IOWA)

Covered Bridges Winery is a relaxed and casual place where you can enjoy a wine experience, music events with food trucks, and shop for wine made from 100% Iowa-grown grapes. Visitors have immediate access to the owners, who love to share their stories and their product. This family-owned winery takes its name from the rich history of the local, covered bridges. It is located in the rolling hills of rural Madison County, Iowa. The family is proud of the awards they’ve won, but they insist that their best wine is “whichever one you like to drink.” I have to agree with that! Each person has their own taste.

We tasted the Rattlesnake Red, which is Covered Bridges Winery’s signature wine. This cabernet balances sweetness with a bite, and it has a unique blend of Marechal Foch, Frontenac, and Geneva Red. Rattlesnake Red also has black currant and earthy flavors. 

The Rattlesnake Red is a red table wine with a sweetness of 3 out of 12. It pairs really well with chili, burgers, brats, steaks, and chops.

The Rattlesnake Red won the Gold Medal/Best of Show Red at the 2019 Iowa State Fair Commercial Wine Competition.

All four wineries are family-owned, and each of them has its unique story and wines to make you want to drink another glass or a bottle. 

Iowa has now become a travel priority on my list. I want to make a trip out there and visit each of the wineries for a full experience.

All wines are available for online purchase. Have you been to any of these wineries or tried any of the wines mentioned above?


January 31, 2021 4 comments
0 FacebookTwitterPinterestEmail
Recipe

12 Days of Holiday Cheer Day #7 How to Make Santa Chocolate Chip Cookies

by Gabrielle Loomis December 10, 2020
written by Gabrielle Loomis

Santa’s cookies are fun and yummy for the whole family. Easy to make, this recipe will leave everyone with a smile on their faces.

I always thought that making cookies was a hard thing to do, but the more I made them, the easier it got. This recipe is super yummy and the whole family will love it. My kids LOVE baking with me so if you have any kids, grandkids, have them bake with you!

Ingredientes:

  1. 1 1/2 cups all-purpose flour 
  2. 1/2 teaspoon salt
  3. 1 large egg
  4. 1 teaspoon baking soda
  5. 1/2 cup butter, room temperature not melted
  6. 1/2 cup of packed light brown sugar
  7. 6 tablespoons of granulated sugar
  8. 1 teaspoon of vanilla extract
  9. 2 cups of unsweetened chocolate chip and red and green M&M

Instructions:

  • Preheat the oven to 350°F and line 2 baking sheets with parchment paper
  • In a separate bowl, mix the flour and baking soda
  • At medium speed, beat the butter and sugars until blended well
  • Add the egg and vanilla and mix on low speed until it’s mixed in
  • Add the flour mixture slowly and mix in until just incorporated. Do not overmix
  • Add chocolate chips and stir. Don’t overmix
  • Using a small ice cream scoop, scoop the dough and make golf size balls to go on the baking sheet
  • Bake the cookies until the bottoms and edges are lightly browned, and the middle looks slightly uncooked
  • Small cookies bake for about 8-10 minutes, and larger cookies bake for 11-13 minutes
  • Let the cookies cool for 5 minutes on the baking sheet, then transfer the cookies to a wire rack or cutting board 
  • Time to ENJOY!

Tip, make sure to cover the cookies for the next day. They will turn hard if you don’t. Also, we like to add extra M&M’s on top of the cookies before they go into the oven. That way you can see them popping out. Watch me and my kids make this recipe over on Instagram.

December 10, 2020 0 comments
0 FacebookTwitterPinterestEmail
Recipe

12 Days of Holiday Cheer #5: Sweet & Creamy Corn Casserole

by Gabrielle Loomis December 7, 2020
written by Gabrielle Loomis

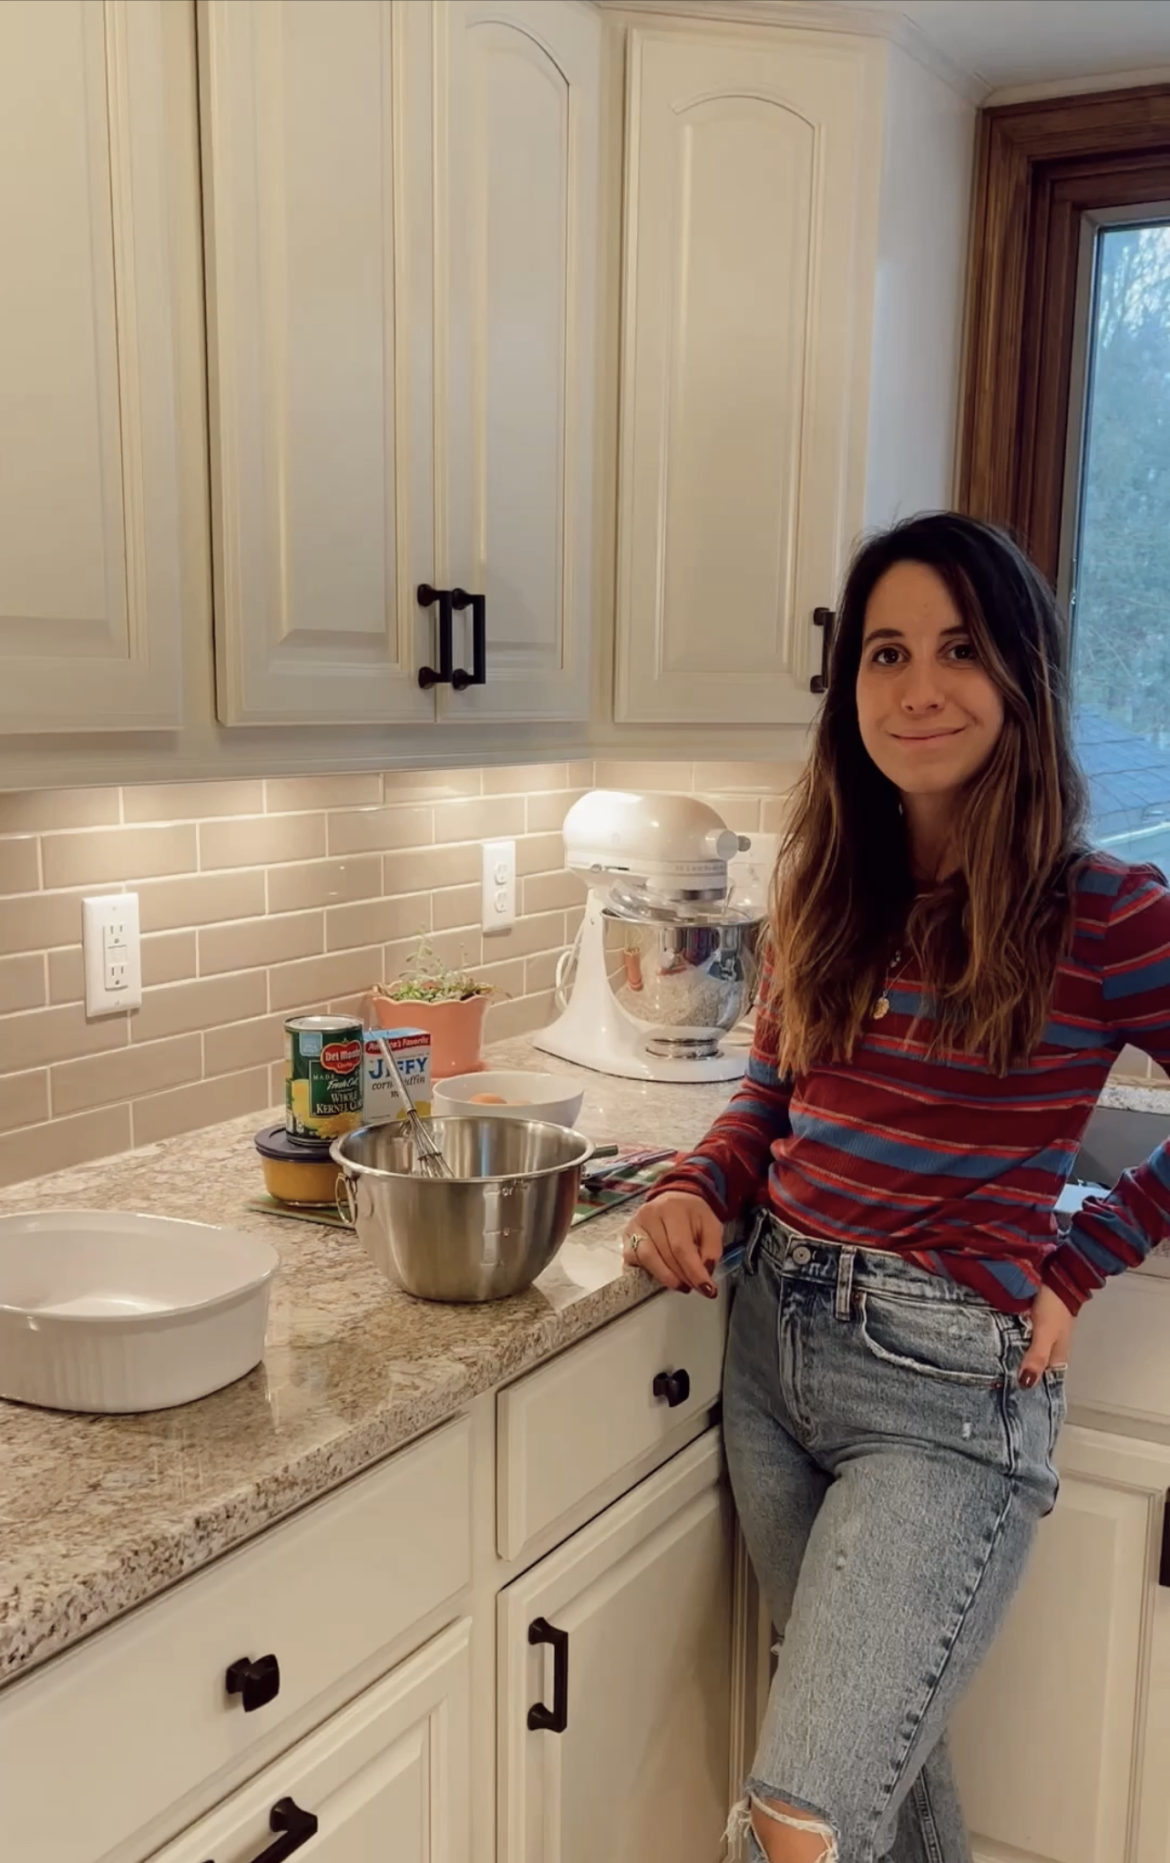
I learned how to make this sweet and creamy corn casserole with my mother-in-law. She always makes this side dish on Thanksgiving and sometimes on Christmas Eve, and it’s always a hit. 

If you are looking for a great side dish to go along with your main dish this Holiday, this easy corn casserole is the perfect option. 

You can serve this dish with turkey, pulled pork, or grilled chicken.

Sweet & Creamy Corn Casserole Ingredients:

  1. 1 can of whole kernel corn
  2. 1 can of sweet corn
  3. 1 stick of melted butter
  4. 2 eggs slightly beaten
  5. 1 box of Jiffy corn muffin mix
  6. 8oz of sour cream

How to make the Casserole:

  1. Preheat the oven to 350 degrees.
  2. Add all the ingredients into s bowl and mix well. 
  3. Add the mixture to an 8×8 baking dish already greased with butter spray and bake it for 35-40 minutes. If you double this recipe, the Casserole can bake for an extra 5 minutes in a 9×13 dish.

That’s it! This comfort side dish is so yummy you will be making it all the time!

https://www.instagram.com/reel/CIhBpONp8Q1/?igshid=19tuvv062t4vr
December 7, 2020 0 comments
0 FacebookTwitterPinterestEmail
Recipe

12 DAYS OF HOLIDAY CHEER DAY #4: Creme Brûlée Latee Recipe with Camerons Coffee

by Gabrielle Loomis December 4, 2020
written by Gabrielle Loomis

On my 12 Day of Holiday Cheer, I tough I would share one of my favorite coffee recipes that you can serve as a dessert drink when your guests are over for the Holidays. This Creme Brûlée Latte Recipe is delicious and mildly sweet. 

Creme Brûlée Late recipe with Camerons Coffee

Ingredients:

  • 8oz. of your favorite Cameron’s blend, brewed. I like to use the Sea Salt Caramel blend.
  • 1 tbsp. simple syrup
  • ½ tsp vanilla extract
  • 2 tbsp. milk
  • Whipped cream
  • Caramel drizzle and cinnamon sprinkle

Directions:

  1. Brew a fresh pot of Cameron’s blend and pour 8oz into a mug. 
  2. Add simple syrup, vanilla extract, and milk. Stir ingredients together and microwave for 30 seconds if not hot enough.
  3. Top the coffee with whipped cream, drizzle the caramel over it, and sprinkle the cinnamon. 
  4. Serve and enjoy!

Watch step-by-step how I make this recipe over on Instagram Reels.

December 4, 2020 0 comments
0 FacebookTwitterPinterestEmail
HolidayRecipe

Christmas Mimosa Recipe

by Gabrielle Loomis December 2, 2020
written by Gabrielle Loomis

This easy cocktail recipe will impress your guests this Holiday season.

Can’t you agree that we need to serve some festive cocktail during the Holidays? Have you tried a Christmas Mimosa yet? If not, you are going to love this cocktail. It is delicious, easy to make, and you only need a few ingredients. 

To make a Christmas Mimosa, you will need the following ingredients:

  1. Cranberry juice
  2. Orange-Pineapple juice
  3. Champagne
  4. Thin-cut lime slices and fresh (or frozen) cranberries

To make this cocktail, you will need to fill half of the champagne glasses. Then add about half a shot of cranberry and orange-pineapple juice. Leave enough room at the top of the glass to fill it with about five cranberries and one lime slice. That’s it! Easy-peasy to make and will impress your guests with how beautiful it looks and how delicious it is. 

If you have pregnant ladies or kids joining your holiday party, you can turn this cocktail into a mocktail. All you would have to do is replace the champagne with a lemon soda like Sprite or Moutain Dew. Trust me. The kids would think this is the coolest drink ever. 

Make sure to share with me either here or on Instagram if you made this recipe. 

Please read my previous post on How to Create an Easy and Festive Tablescape.https://colormesassy.com/2020/12/01/how-to-create-an-easy-and-festive-christmas-tablescape/

December 2, 2020 0 comments
1 FacebookTwitterPinterestEmail
HolidayHome Decor

How to Create an Easy and Festive Christmas Tablescape

by Gabrielle Loomis December 1, 2020
written by Gabrielle Loomis

Create a beautiful Holiday tablescape with things you are already have in your house. No need to buy it. 

Christmas is my absolute favorite Holiday. This time of the year just feels magical to me and I think that’s why I love this Holiday so much. What I also love is decorating the outside and inside of the house with lights, garlands and wreaths, and creating an easy and festive Christmas tablescape to welcome family. 

Today I really want to inspire you to create your own Christmas table decor. You don’t need to buy new things to create something beautiful. You can simply use ornaments that you already have in your home. 

Christmas Tablescape idea

https://www.instagram.com/reel/CIRj9tKpQ1z/?igshid=1vzo27d5bxxaa

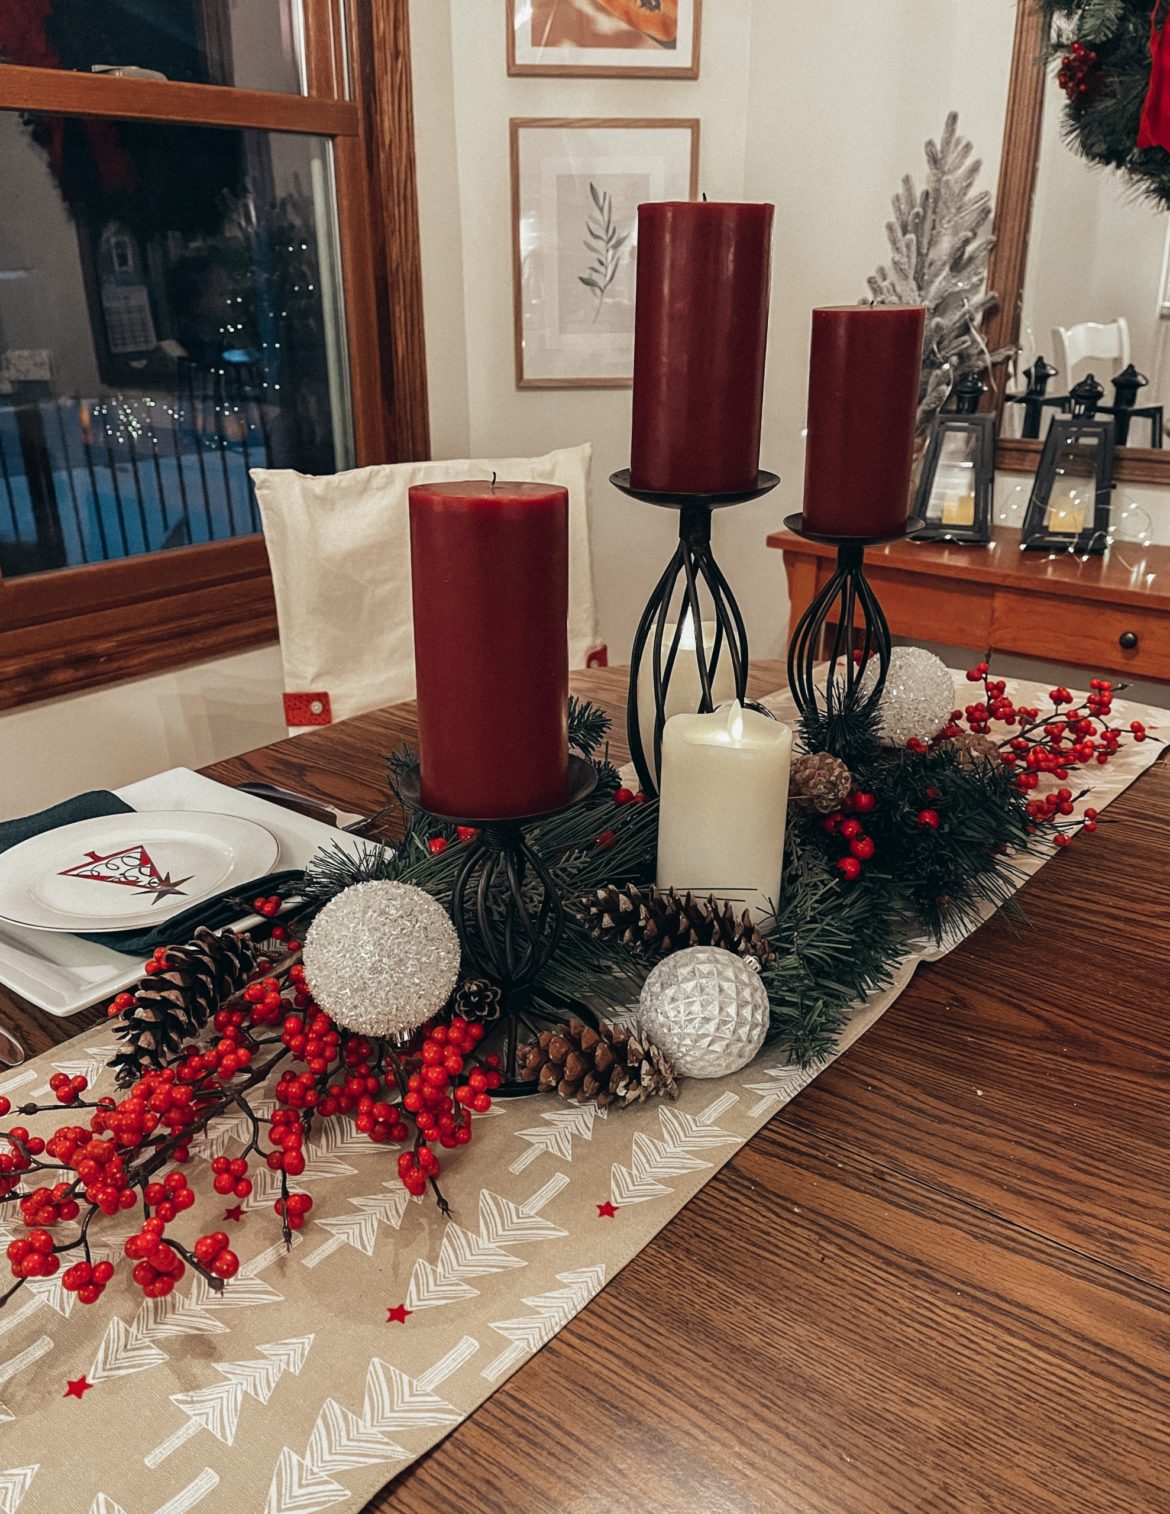
To start, choose if you want linen over the table or if you rather keep it simple (and easy to clean) by covering the center of the table with a runner. Since my kids can still spill food when they eat, I opt to only use a runner for now. If you decide to add table linen, make sure to choose a runner that is bold adds contrast.

Second, gather a few ornaments, real foliage and pines, berry stems, and candles. Candles can be the focal point of your table so start by placing them on the center of the table. Next, gather your foliage and rearrange in a way that makes sense and doesn’t look awkward. Don’t worry about stems showing up. That’s why we have ornaments and other things such as pine cones to cover them. I literally went in my backyard and picked a few pine cones to add to this decor, and I stole some ornament balls from my Christmas tree to add to the decor.

Once the centerpiece is created, it’s time to add plates, silverware and drinking glasses. When I was creating this table scape I wanted to be able to show off the beautiful salad/dessert plates. That’s why I chose to put the hunter green linen napkin under the plate. By doing that I also added some contrast between the two plates. You can also use napkin rings to hold the napkins and place on the place. That’s another great option that adds attention to detail. 

Christmas Tablescape

Well, I hope you enjoyed this post and that I helped you get ideas to create your own beautiful tablescape this Christmas.

If you are wondering, the evergreen branches I purchased last year at Hobby Lobby. The store should  be carrying the same ones again this year. they were very reasonable about $4,99 each. The berry steams I purchased from Target, candles are from World Market, candle holders from goodwill, table runner I believe it was from Home Goods.

Tag me on Instagram @colormesassy so I can see how you created your Christmas tablescape!

December 1, 2020 0 comments
0 FacebookTwitterPinterestEmail
Uncategorized

Make your gift stand out with this clever gift wrapping idea

by Gabrielle Loomis November 24, 2020
written by Gabrielle Loomis

I love a beautifully wrapped gift. I think it shows that you put time, love, and care into wrapping their gift.

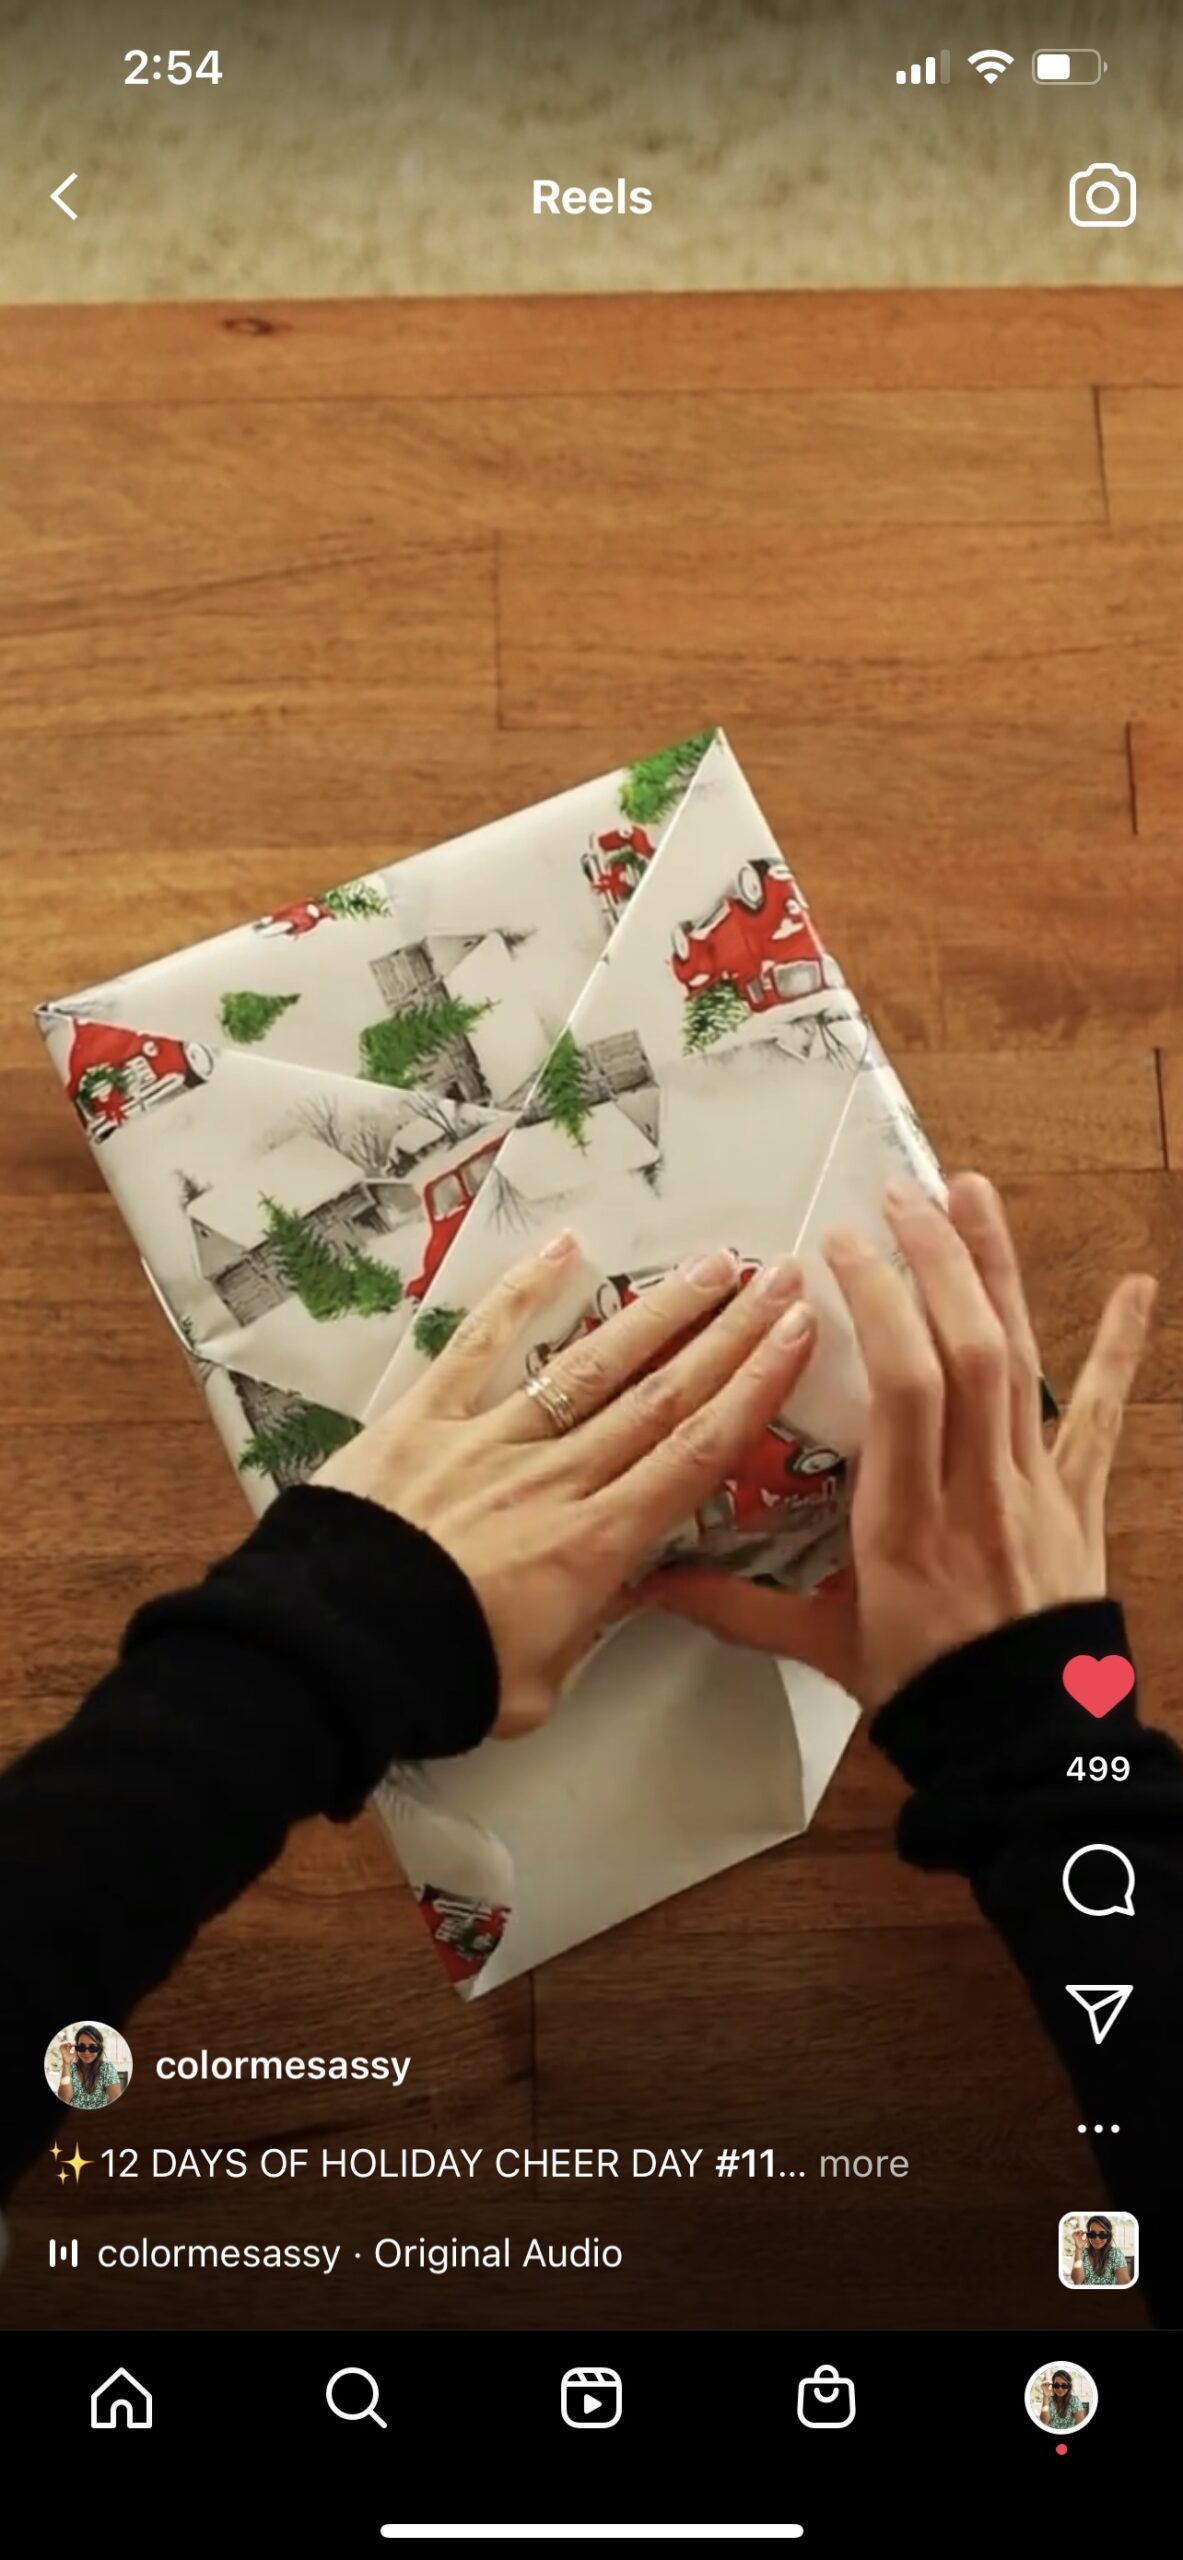
Last year, I wanted to up my wrapping game, so I looked online for different wrapping tutorials. I found this particular one to be very interesting, and it stood out to me.

Don’t be intimidated by this pleaded method of wrapping gifts. It’s way easier than you think.

WHATCH VÍDEO HERE: https://www.instagram.com/reel/CI60D8xl6ik/?utm_source=ig_web_copy_link

Grab a good pair of scissors, clear tape, and paper, and let’s start wrapping!

If you have any questions, send me a DM on Instagram (www.Instagram.com/colormesassy), and I’ll be happy to respond! Also, please tag me on IG so I can share your wrapping skills on Stories.

Have fun wrapping!

November 24, 2020 0 comments
0 FacebookTwitterPinterestEmail
BeautySkin care

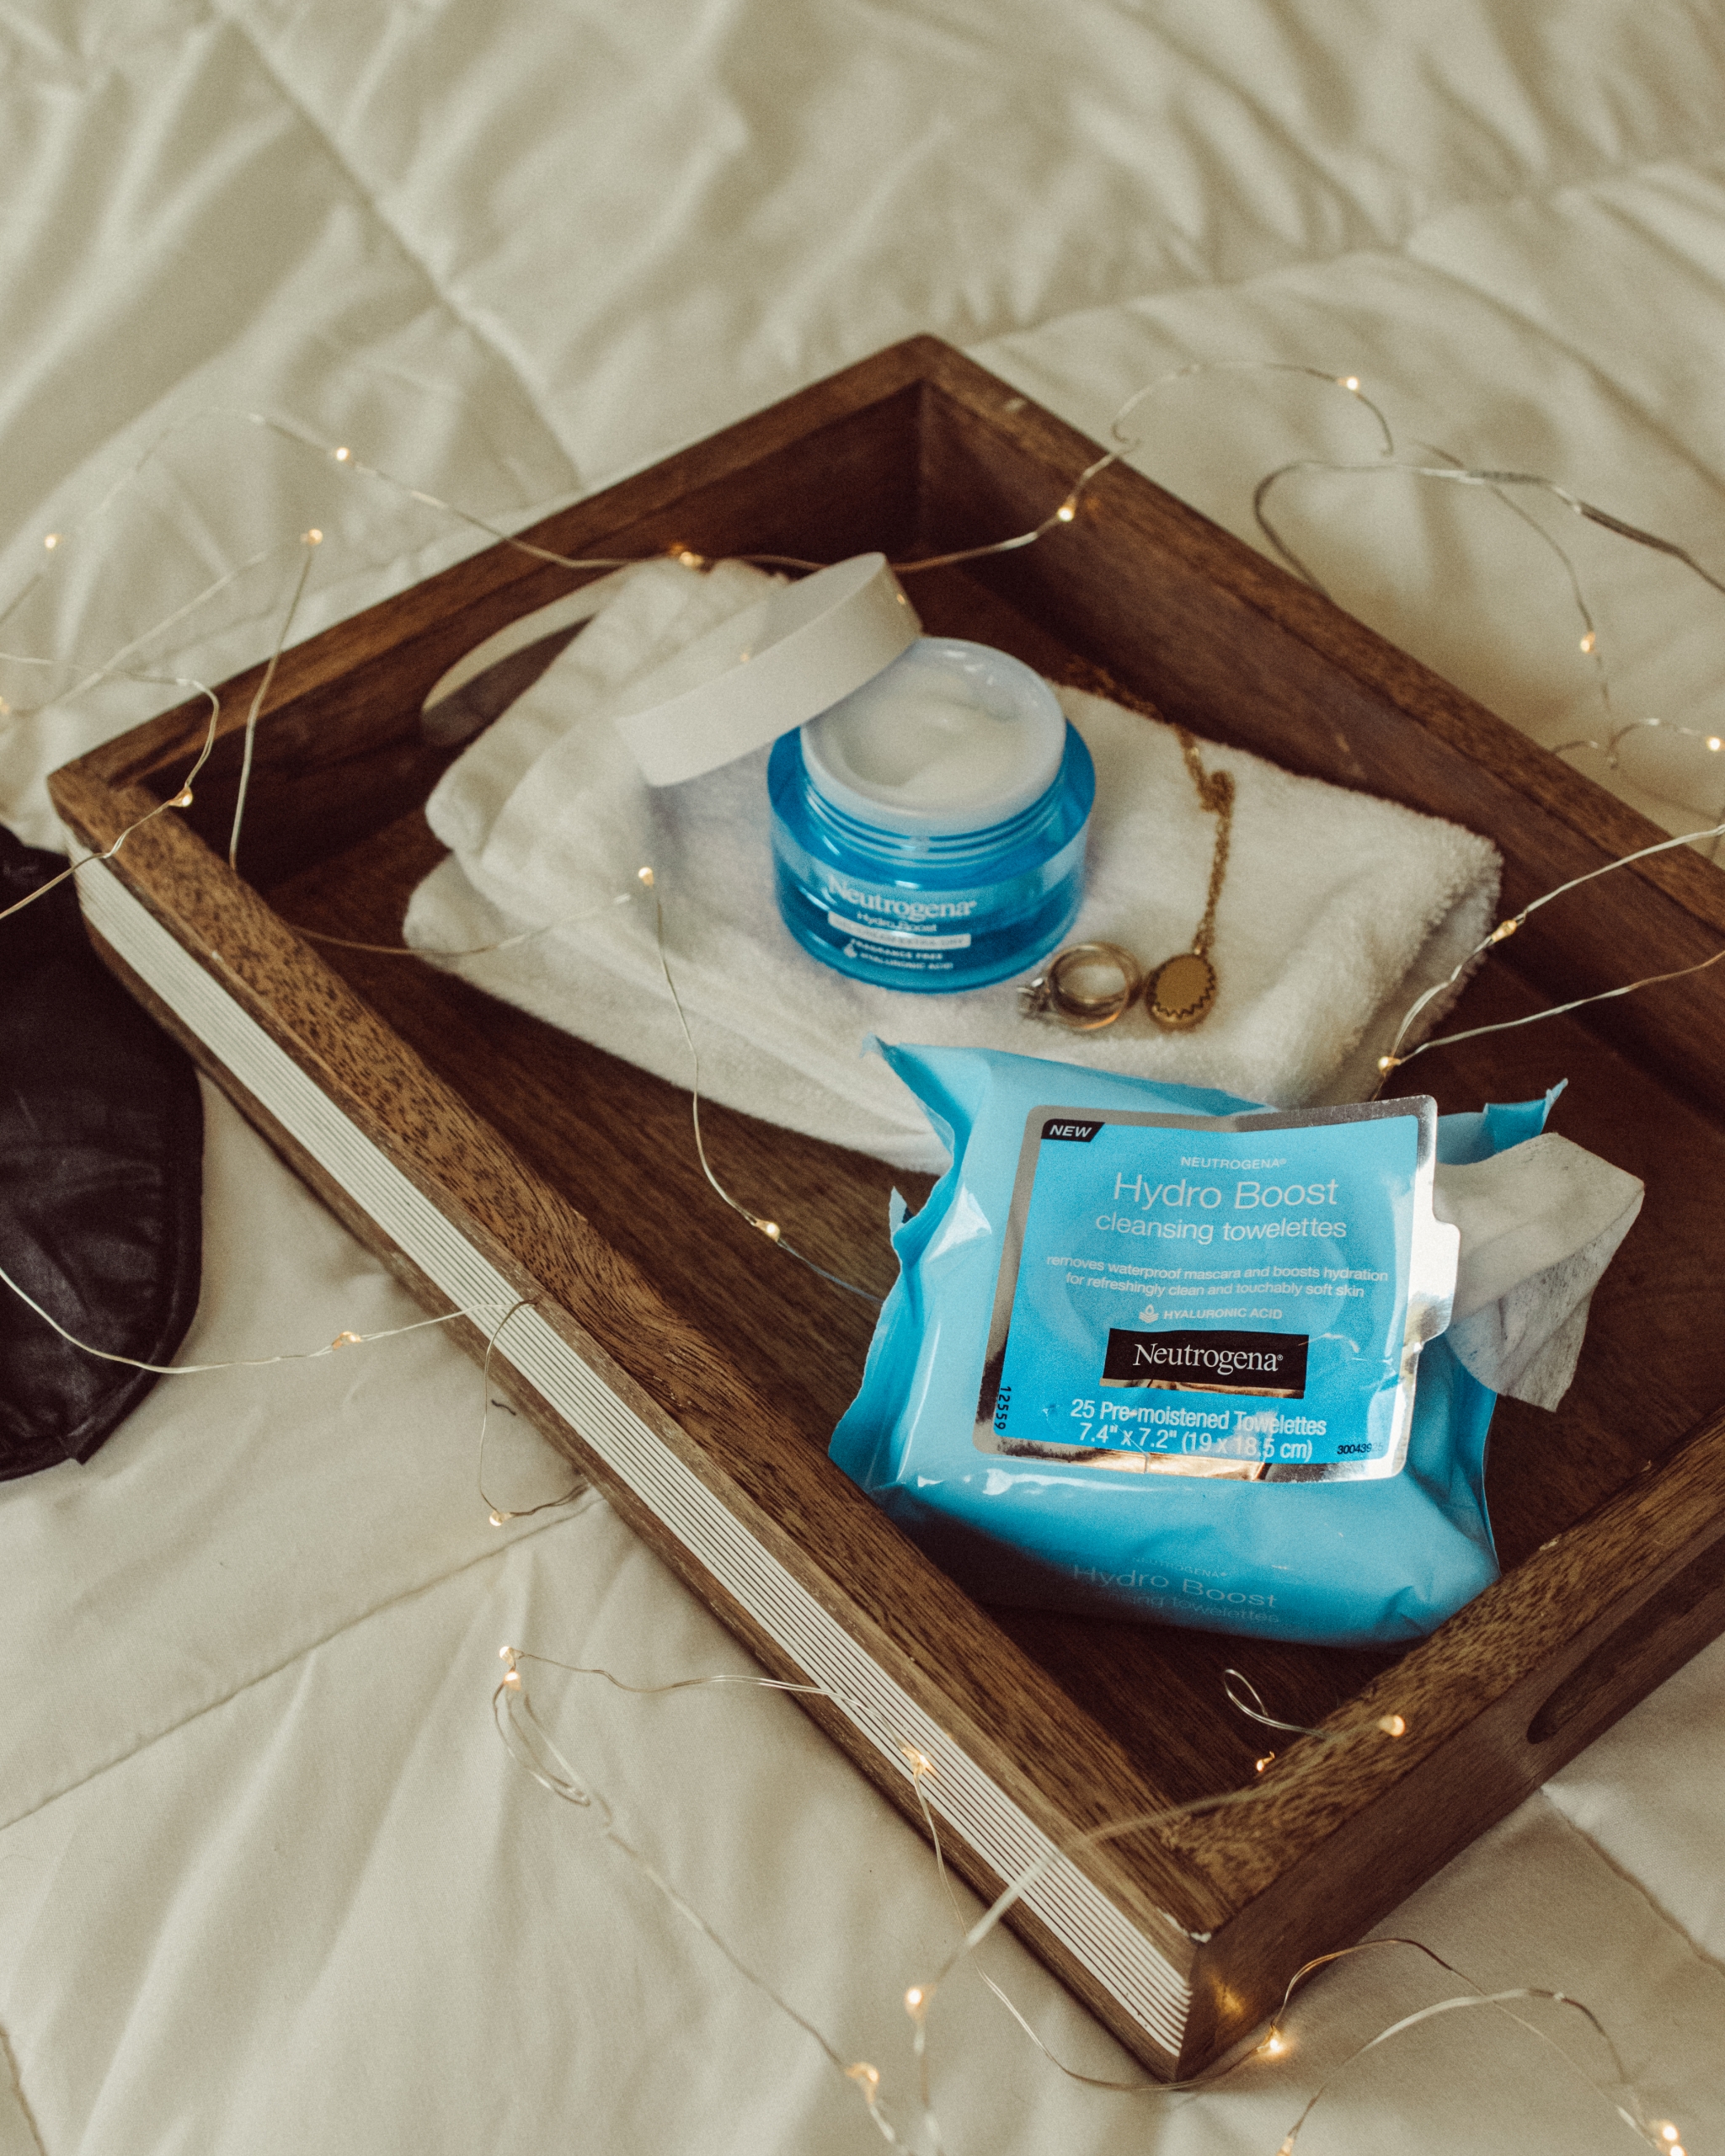
Happy Hydrating with Neutrogena Hydro Boost Line

by Gabrielle Loomis November 23, 2020
written by Gabrielle Loomis

This is a sponsored post, but all thoughts and opinions are my own.

Winter is coming, and my skin can already feel it. This is the time when I have to take the extra mile to keep my face from getting dry. That’s why Neutrogena is here for us; to give our skin a boost of hydration so it doesn’t get a beating from the harsh winter months.

Neutrogena Hydro Boost line is the real deal for those who need that extra boost of hydration – and quite honestly, who doesn’t?


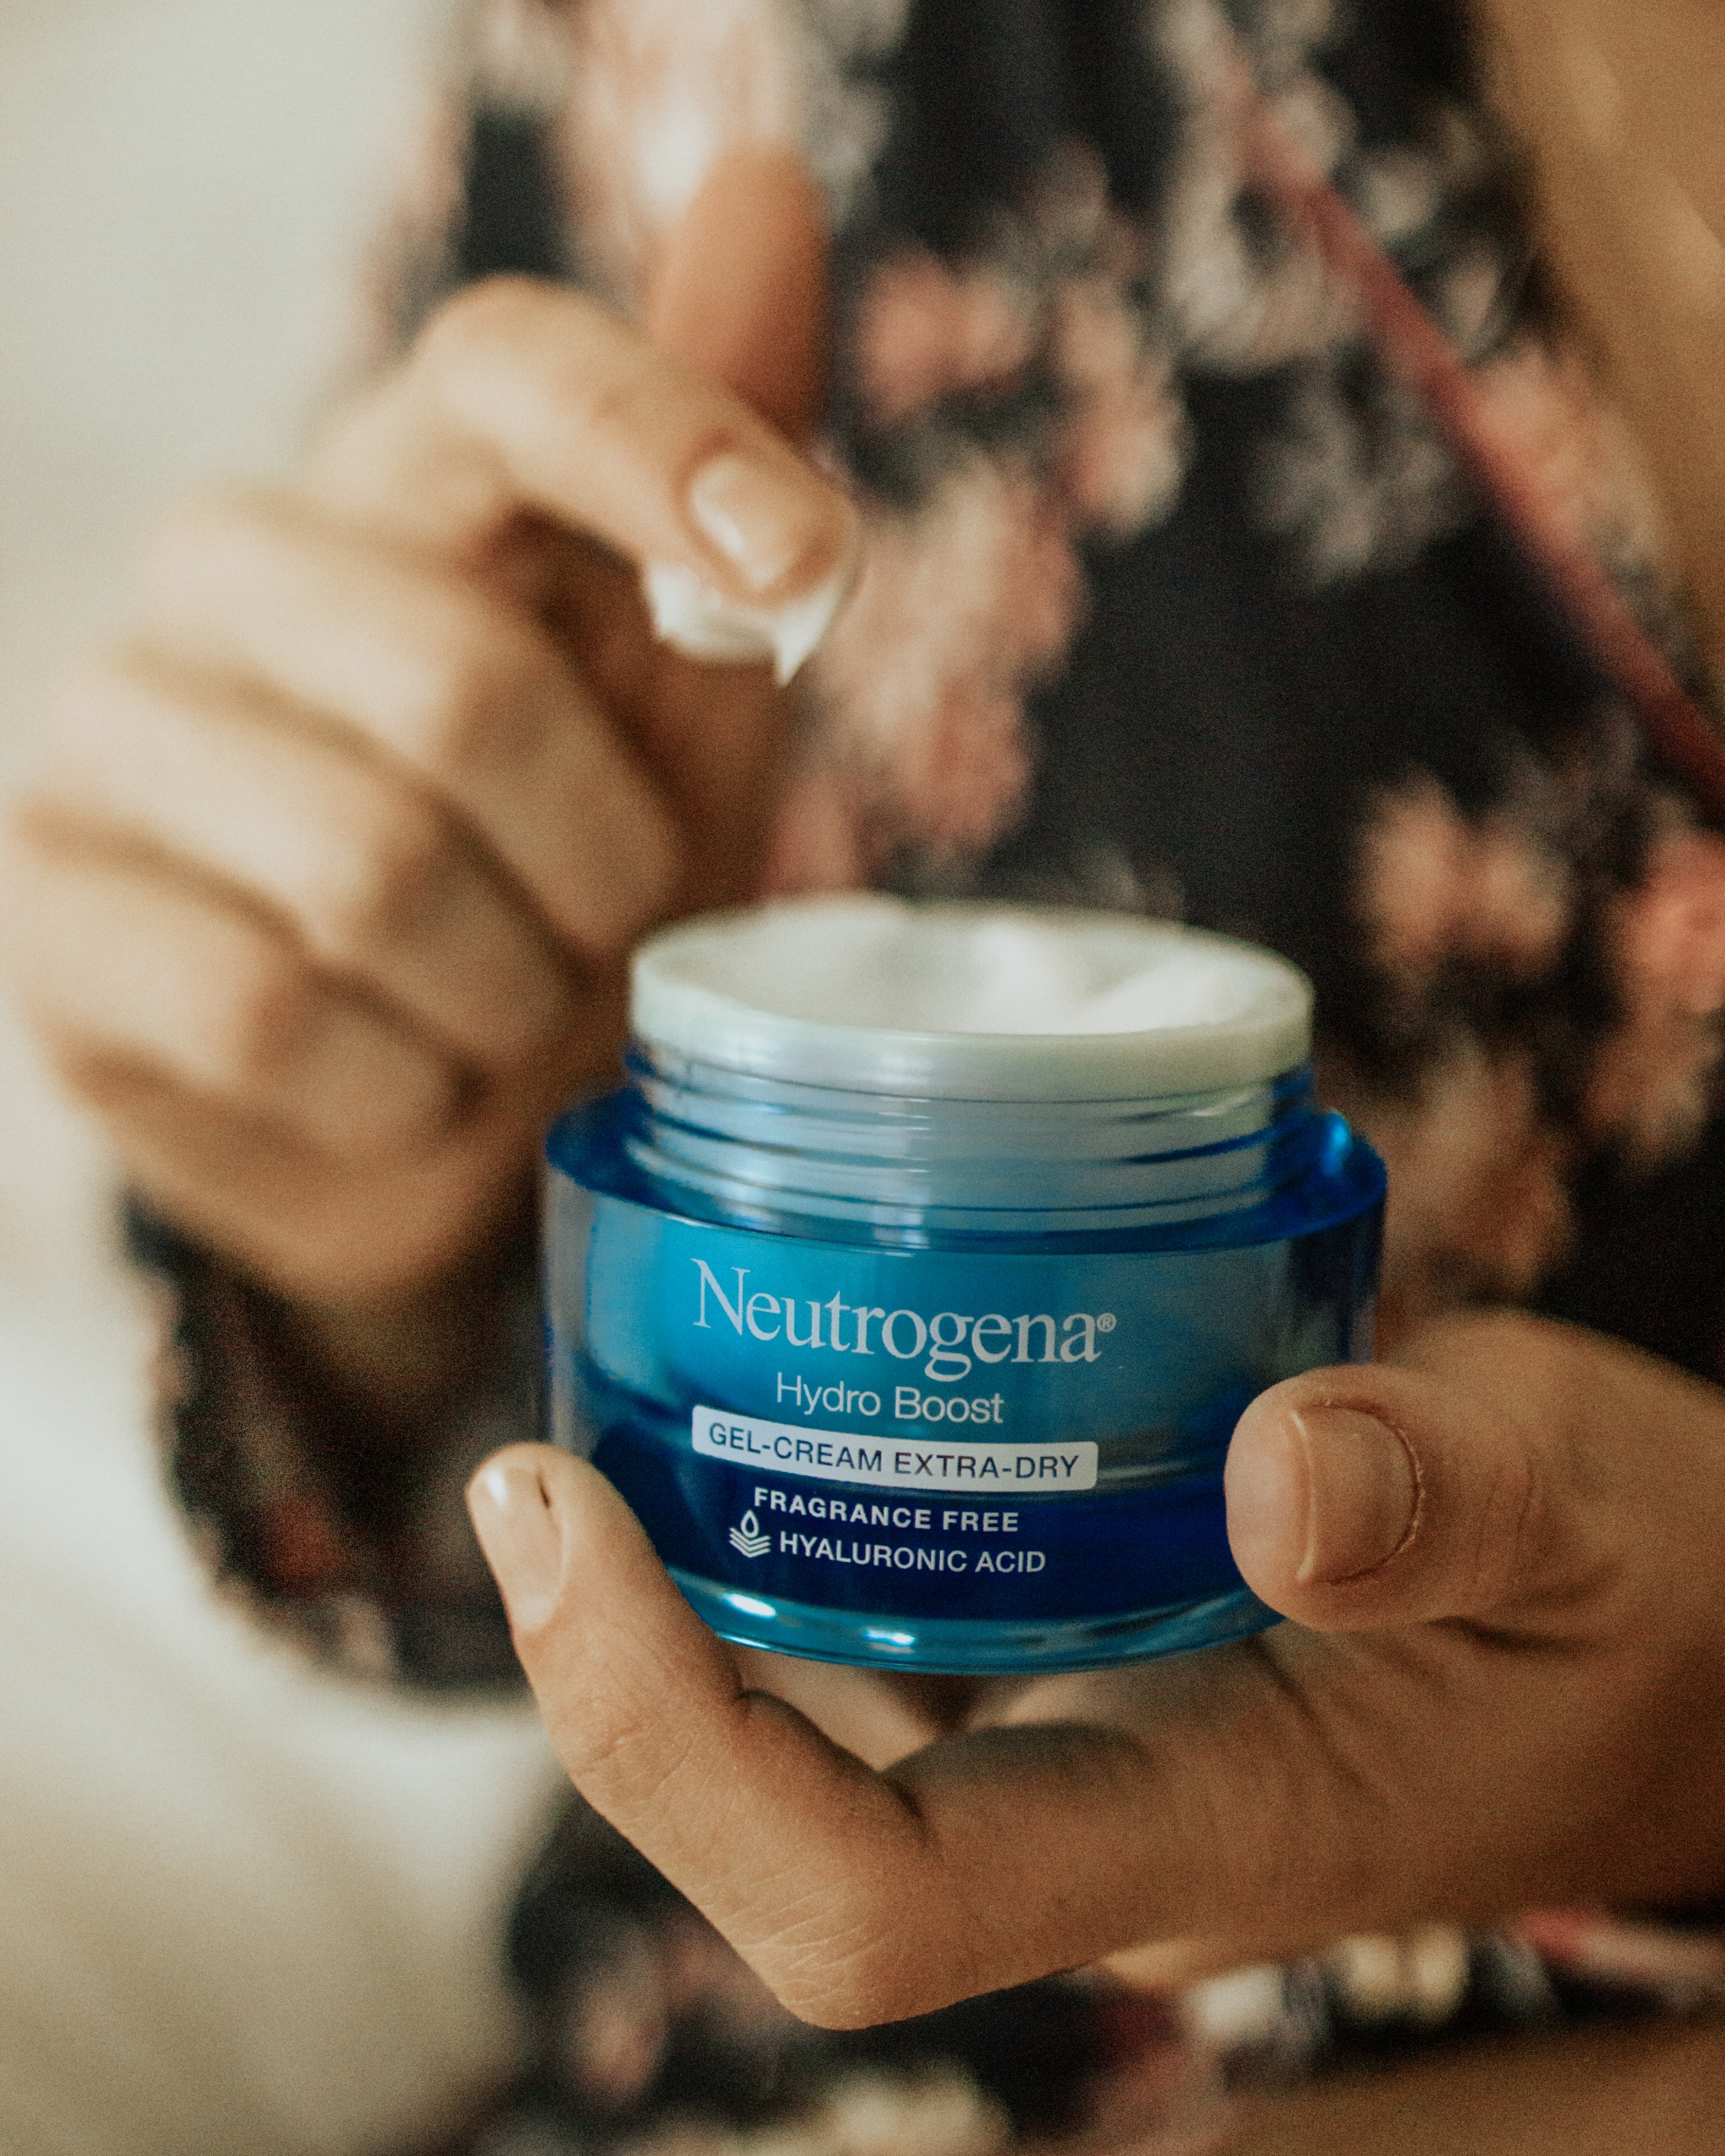
A key ingredient to the Hydro Boost line is hyaluronic acid, a hydrator found naturally in our skin that attracts moisture and locks it in. Every day, I use the Hydro-boost Gel-cream because its formula absorbs quickly, it’s long-lasting, fragrance, dye, and oil-free. You can wear it alone and under makeup. I personally like to start my day wearing this gel-cream after I wash my face in the morning. It instantly quenches dry skin and keeps it looking smooth, supple, and hydrated day after day.

Skincare +bed + fuzzy socks = nothing better

Another must-have from Neutrogena is the Hydro Boost Facial Cleansing Wipes, which also contains Hyaluronic Acid. These wipes are incredible. They remove makeup (even waterproof mascara), dirt, and impurities while giving your skin a boost of hydration and feeling refreshingly clean! These wipes are suitable for sensitive skin and are alcohol and paraben-free. Not only do these wipes work excellent, but they also feel so smooth when wiping your face.

If you are in the market for skin moisturizer, you have to try these products. You can easily pick them up at Walmart or add them to your online pickup or delivery order! Start using them now, so your skin looks healthy and hydrated for the holidays. Speaking of holidays, these Neutrogena products would be such good stocking stuffers for all the ladies and skincare lovers in your life. Get a $10 Reward when you spend $25 on participating Neutrogena® Products between 11/01/20-12/05-20. Click link for details.

Happy hydrating! I mean gifting 😉 

November 23, 2020 0 comments
0 FacebookTwitterPinterestEmail
Home Decor

5 Steps to Creating a Gallery Wall with Desenio’s Wall Posters and Frames.

by Gabrielle Loomis September 8, 2020
written by Gabrielle Loomis

My house walls are pretty barre as I slowly add wall art and decor to make it homier. I always wanted to add a coordinated gallery wall, but my attempt to make it lovely turned into a disaster – the wrong color frame or too small/big for the wall. My failed attempt led me to contact Desenio for a blog collaboration since they offer an abundance of design inspiration and posters in various combinations of colors, decor styles, and finishes.
In this blog post, I share the five steps I took to create a gallery wall with Desenio’s wall posters and frames.

The first step (the easiest) is to select which room you want to add art. I am a firm believer that having a clean and organized place can contribute to a happier state of mind; it can help you be more productive, organized, and motivated in whatever task you have to accomplish. With that said, the second step is to figure out what kind of vibe and style are going for? Do you want it to be colorful? Peaceful? Bold? Surprising?

Category: Nature

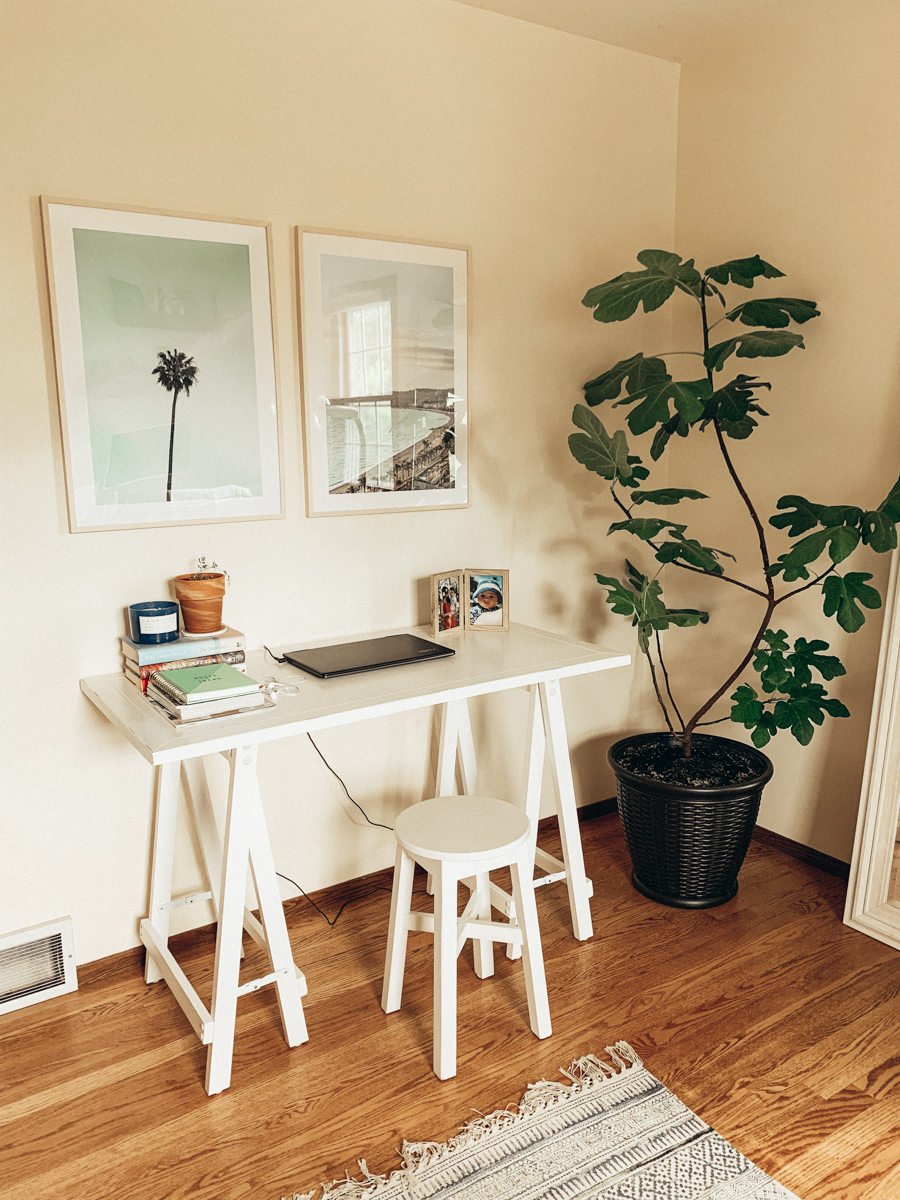
I recently added another desk to our office so Rapha could do his schoolwork, and I could do mine. I wanted the office to give a peaceful, creative, and summer vibe so I looked under the nature category.  The palm tree and the beach in Italy posters make me think of summer and where I would love to be every day. When I look at those images it makes me happy and I forget about winter.

The office is not quite ready. I ordered a beautiful desk chair that won’t be here until October. I want to add a larger rug and a few more finishing touches. You can still get the idea of how I want this room to look like.

Category: Kitchen Gallery

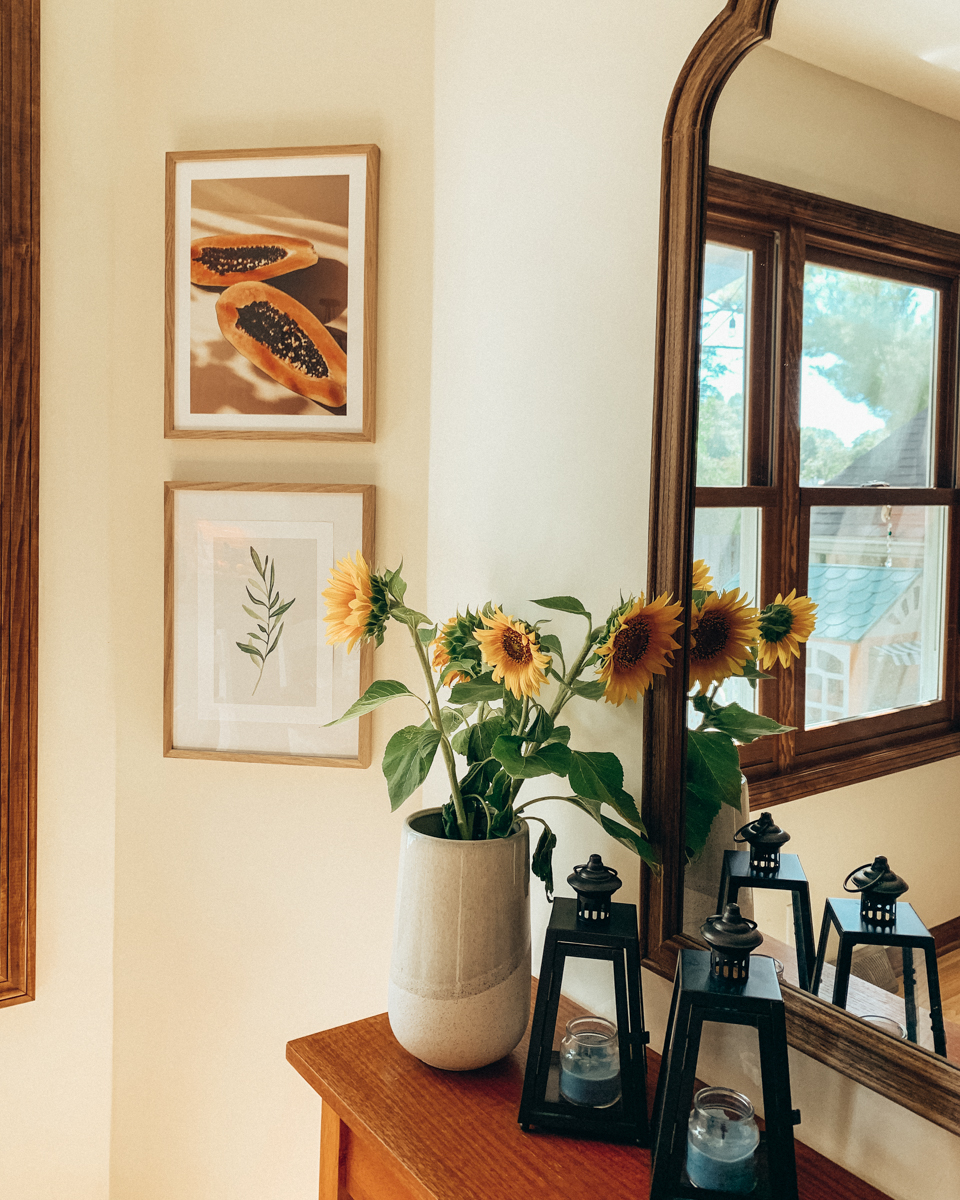
I wanted to add art that had some color to add a little bit of contrast to my white kitchen. I bought those two posters under Kitchen Category – one with papaya in the sun (my favorite fruit) and one with an olive branch. The light oak finish of the frames goes well with the mirror hanging on the wall. I am going to order two more prints for the kitchen to go on the opposite side of the wall.

After establishing the vibe and design style, the third step is to get inspiration to find the right kind of poster for the room through the Gallery Wall page on Desenio’s website and Instagram feed. I love that they have a wide variety of wall posters and inspiration to meet anyone’s design taste.

Screenshot image from Desenio’s website

Now that the vibe has been established, and you got a lot of inspiration, the fourth step is to measure the wall space you want the gallery wall to be. This step helps you decide how many frames and posters you want and can fit on the wall.
If you are not sure how many frames you want, I would suggest creating a gallery wall with masking tape so you can see precisely where they would go.

The last and final step is to select what finish suits best the room and the poster image. There are many frame finishes to choose from: black, oak, white, metal, and more.
I’m so happy with my two gallery walls and I hope those five steps to creating a gallery wall will help you make your own!

Xo, Gabrielle

September 8, 2020 0 comments
0 FacebookTwitterPinterestEmail
Uncategorized

Beachbody Experience and how it has changed my life

by Gabrielle Loomis June 10, 2020
written by Gabrielle Loomis

I’ve always been into exercising, and I think it’s because my mom was a gymnast teacher, so half of my life I “lived” in a sports club. I did anything from gymnastics, tap-dancing, swimming lessons; I even tried fencing for a month. Kind of random, I know. My nature is to move my body in any sort of way. 

Right before COVID-19, I was going to my local Orange Theory and doing the best workouts of my life. I was feeling beyond amazing. When the gym closed for an undetermined time, I had to find some other way to exercise. That’s when I decided to try the 14 Day Trial of Beachbody on Demand app. I did a few different exercises until I did one with Autumn. Autumn is one of Beachbody’s famous trainers and a great fitness instructor coach. She has several different workout plans, such as the one I’m doing now called “80 Day Obsessed.”

At first, I wasn’t confident I was going to stick to it, but I was motivated to give it a try. I think exercising from home can be hard if you don’t have a good quiet space to do it. And what I mean by that is if you have children and you exercise in the middle of the living room where they are running around, you are going to give up—knowing that I decided to make one of our bedrooms into an area where I could close the door and be alone for an hour. 

Honestly, I think that’s what did the trick, having a room where I can be alone and with no distractions makes a HUGE difference. The 80 Day Obsession daily workouts are hard, and at least for me, I need focus. Without focus, I can’t lift as hard or push as hard. If you think that you can’t work out from home, I suggest you try what I did. Make a room where you can lock yourself from any distractions.

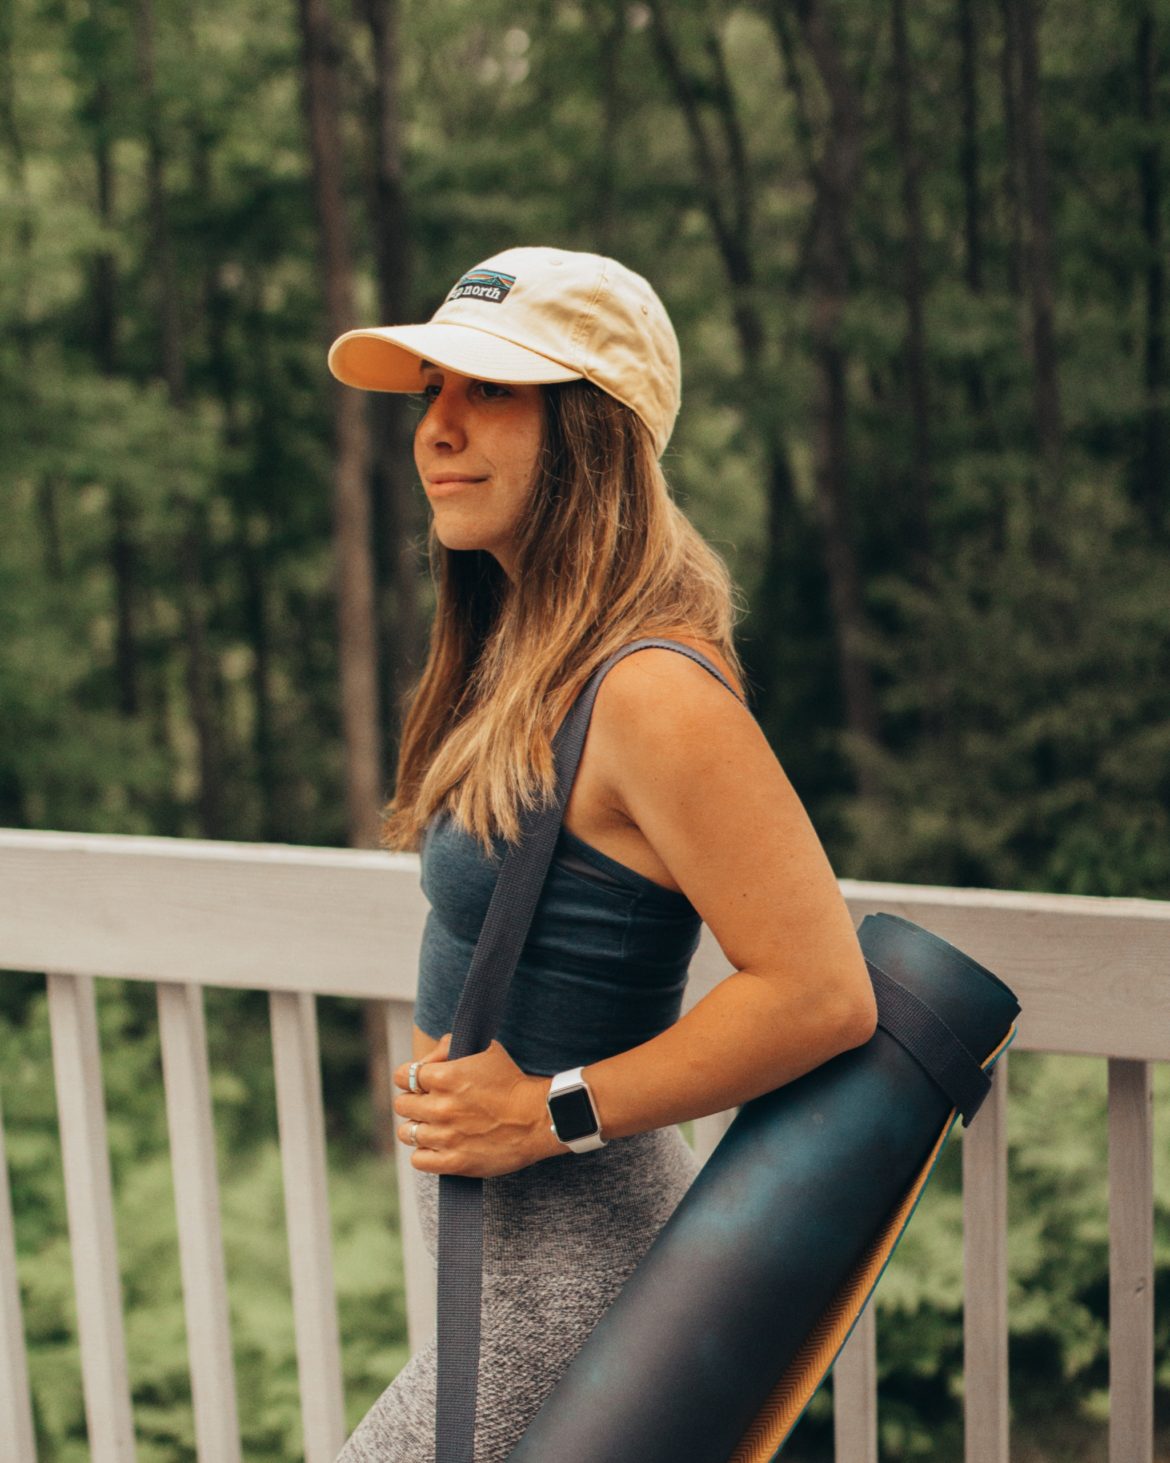
Now back to the program. On the 80 Day Obsession, you need several different weights, resistance loops (these resistance loops are like mine and only $15), yoga mat, and sliders (I use two rags for that). You work out six days a week, Monday through Saturday, and give your body some rest on Sundays. It takes hard work, determination, and the right mindset to followthrough the workouts. 

Here are a few things that might help you get through exercising:

  • Make your workout a priority, and everything comes after.
  • Don’t complain! I haven’t complained once about a workout. I never said, “this is going to be hard” or “I hate cardio day.” Being positive has helped me tremendously. 
  • Encourage yourself while you workout. Tell yourself YOU CAN DO IT.
  • If you have children like me, find the time when you can exercise without distractions. What works for me is doing it as soon as my husband is finished with his work, and he can watch the kids for me.

Beachbody has really changed my life. I feel so proud of myself for following through and pushing to do my best on every workout. I feel happier after I workout, especially on days I feel down. Also, I’ve seen a big difference in the way my body feels and looks. I feel stronger and more fit since day one. I’m currently on Day 35 of 80 Day Obsession, so almost halfway through.

I hope that my Beachbody experience helped you decide to join or at least inspired you to try to work out from home. It isn’t that bad 🙂

June 10, 2020 1 comment
0 FacebookTwitterPinterestEmail
Recipe

The Best S’Mores Iced Coffee Recipe

by Gabrielle Loomis May 30, 2020
written by Gabrielle Loomis

A refreshing and delicious recipe to enjoy in the summer.

You guys know how much I love drinking my coffee every morning. My body and mind need to wake up to have the energy I need for the rest of the day. Today, I’ll be teaching you how to make the best s’ mores iced coffee recipe. Iced coffee tastes better in the summer—nothing like a refreshing and delicious drink to keep you going. 

If you don’t have a cold brew maker, you can buy one for cheap. The one I have is inexpensive. I will link it at the bottom of the post. Another alternative is to let the cold brew coffee sit in water overnight for 12 hours and strain it through a filter. The filter could be a coffee filter or even a dishtowel.

You can make this recipe look, and taste like it came straight from a coffee shop. The taste is fabulous, and you can make it look beautiful so you can serve to friends and family.  

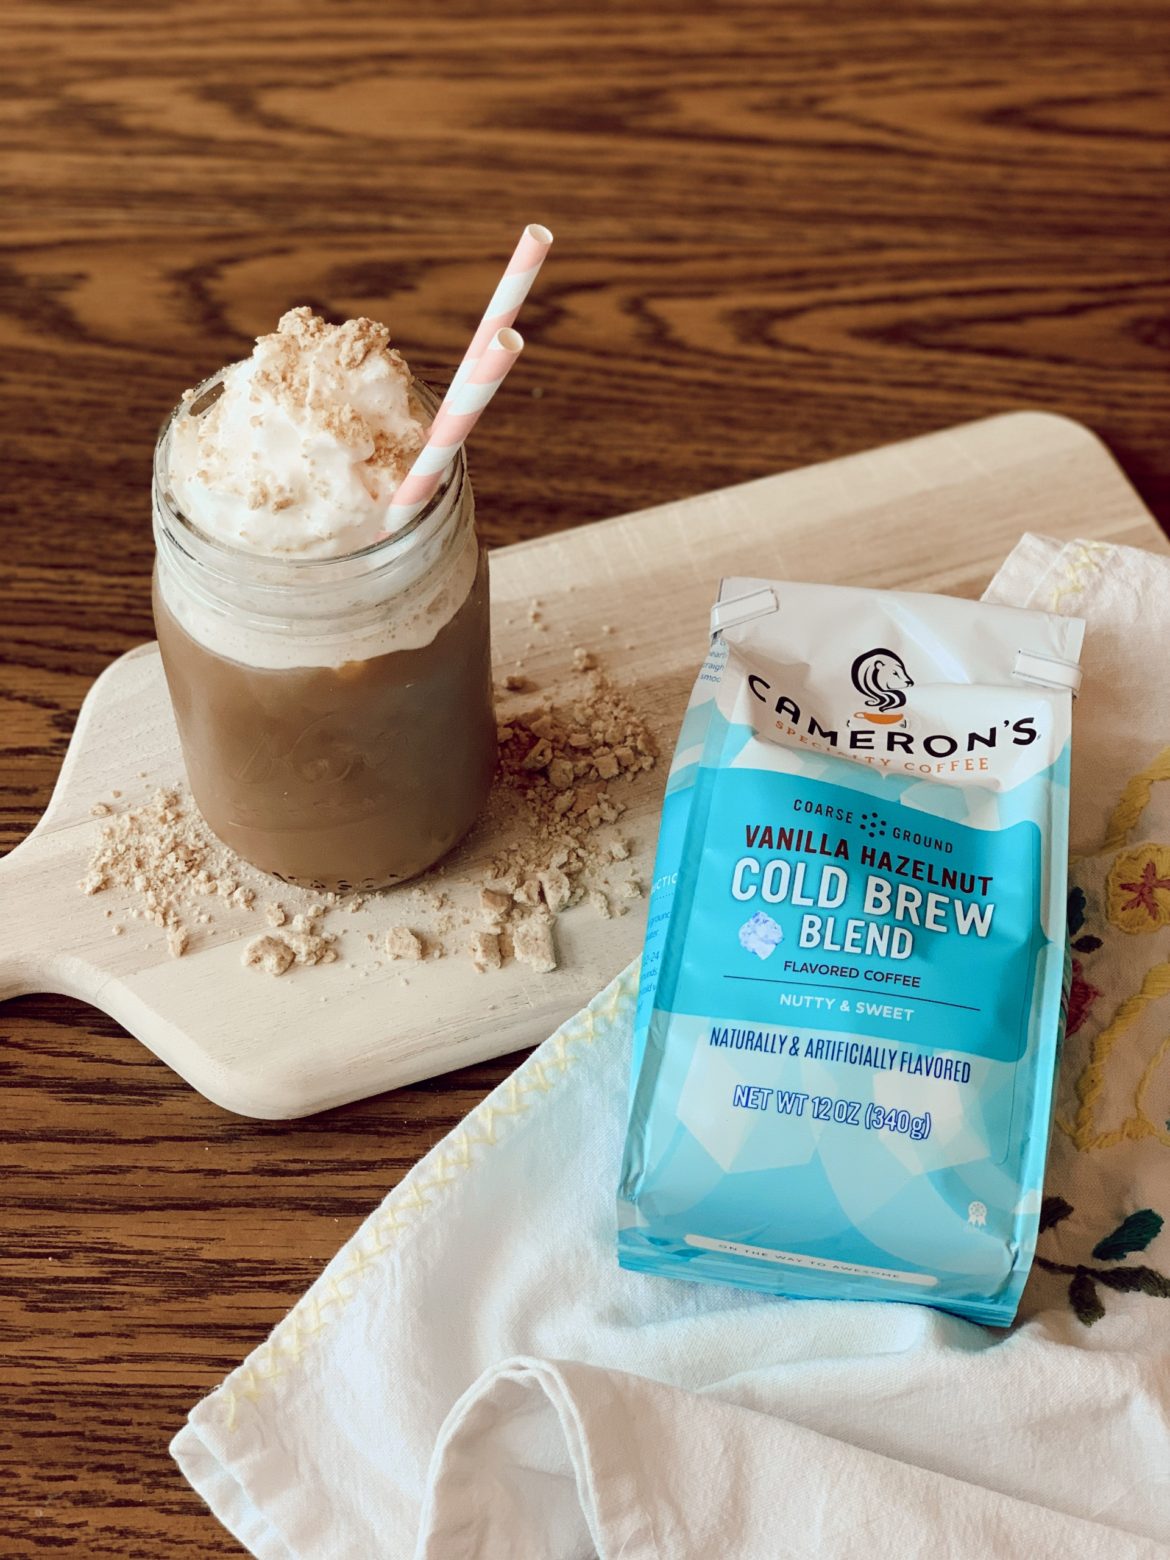
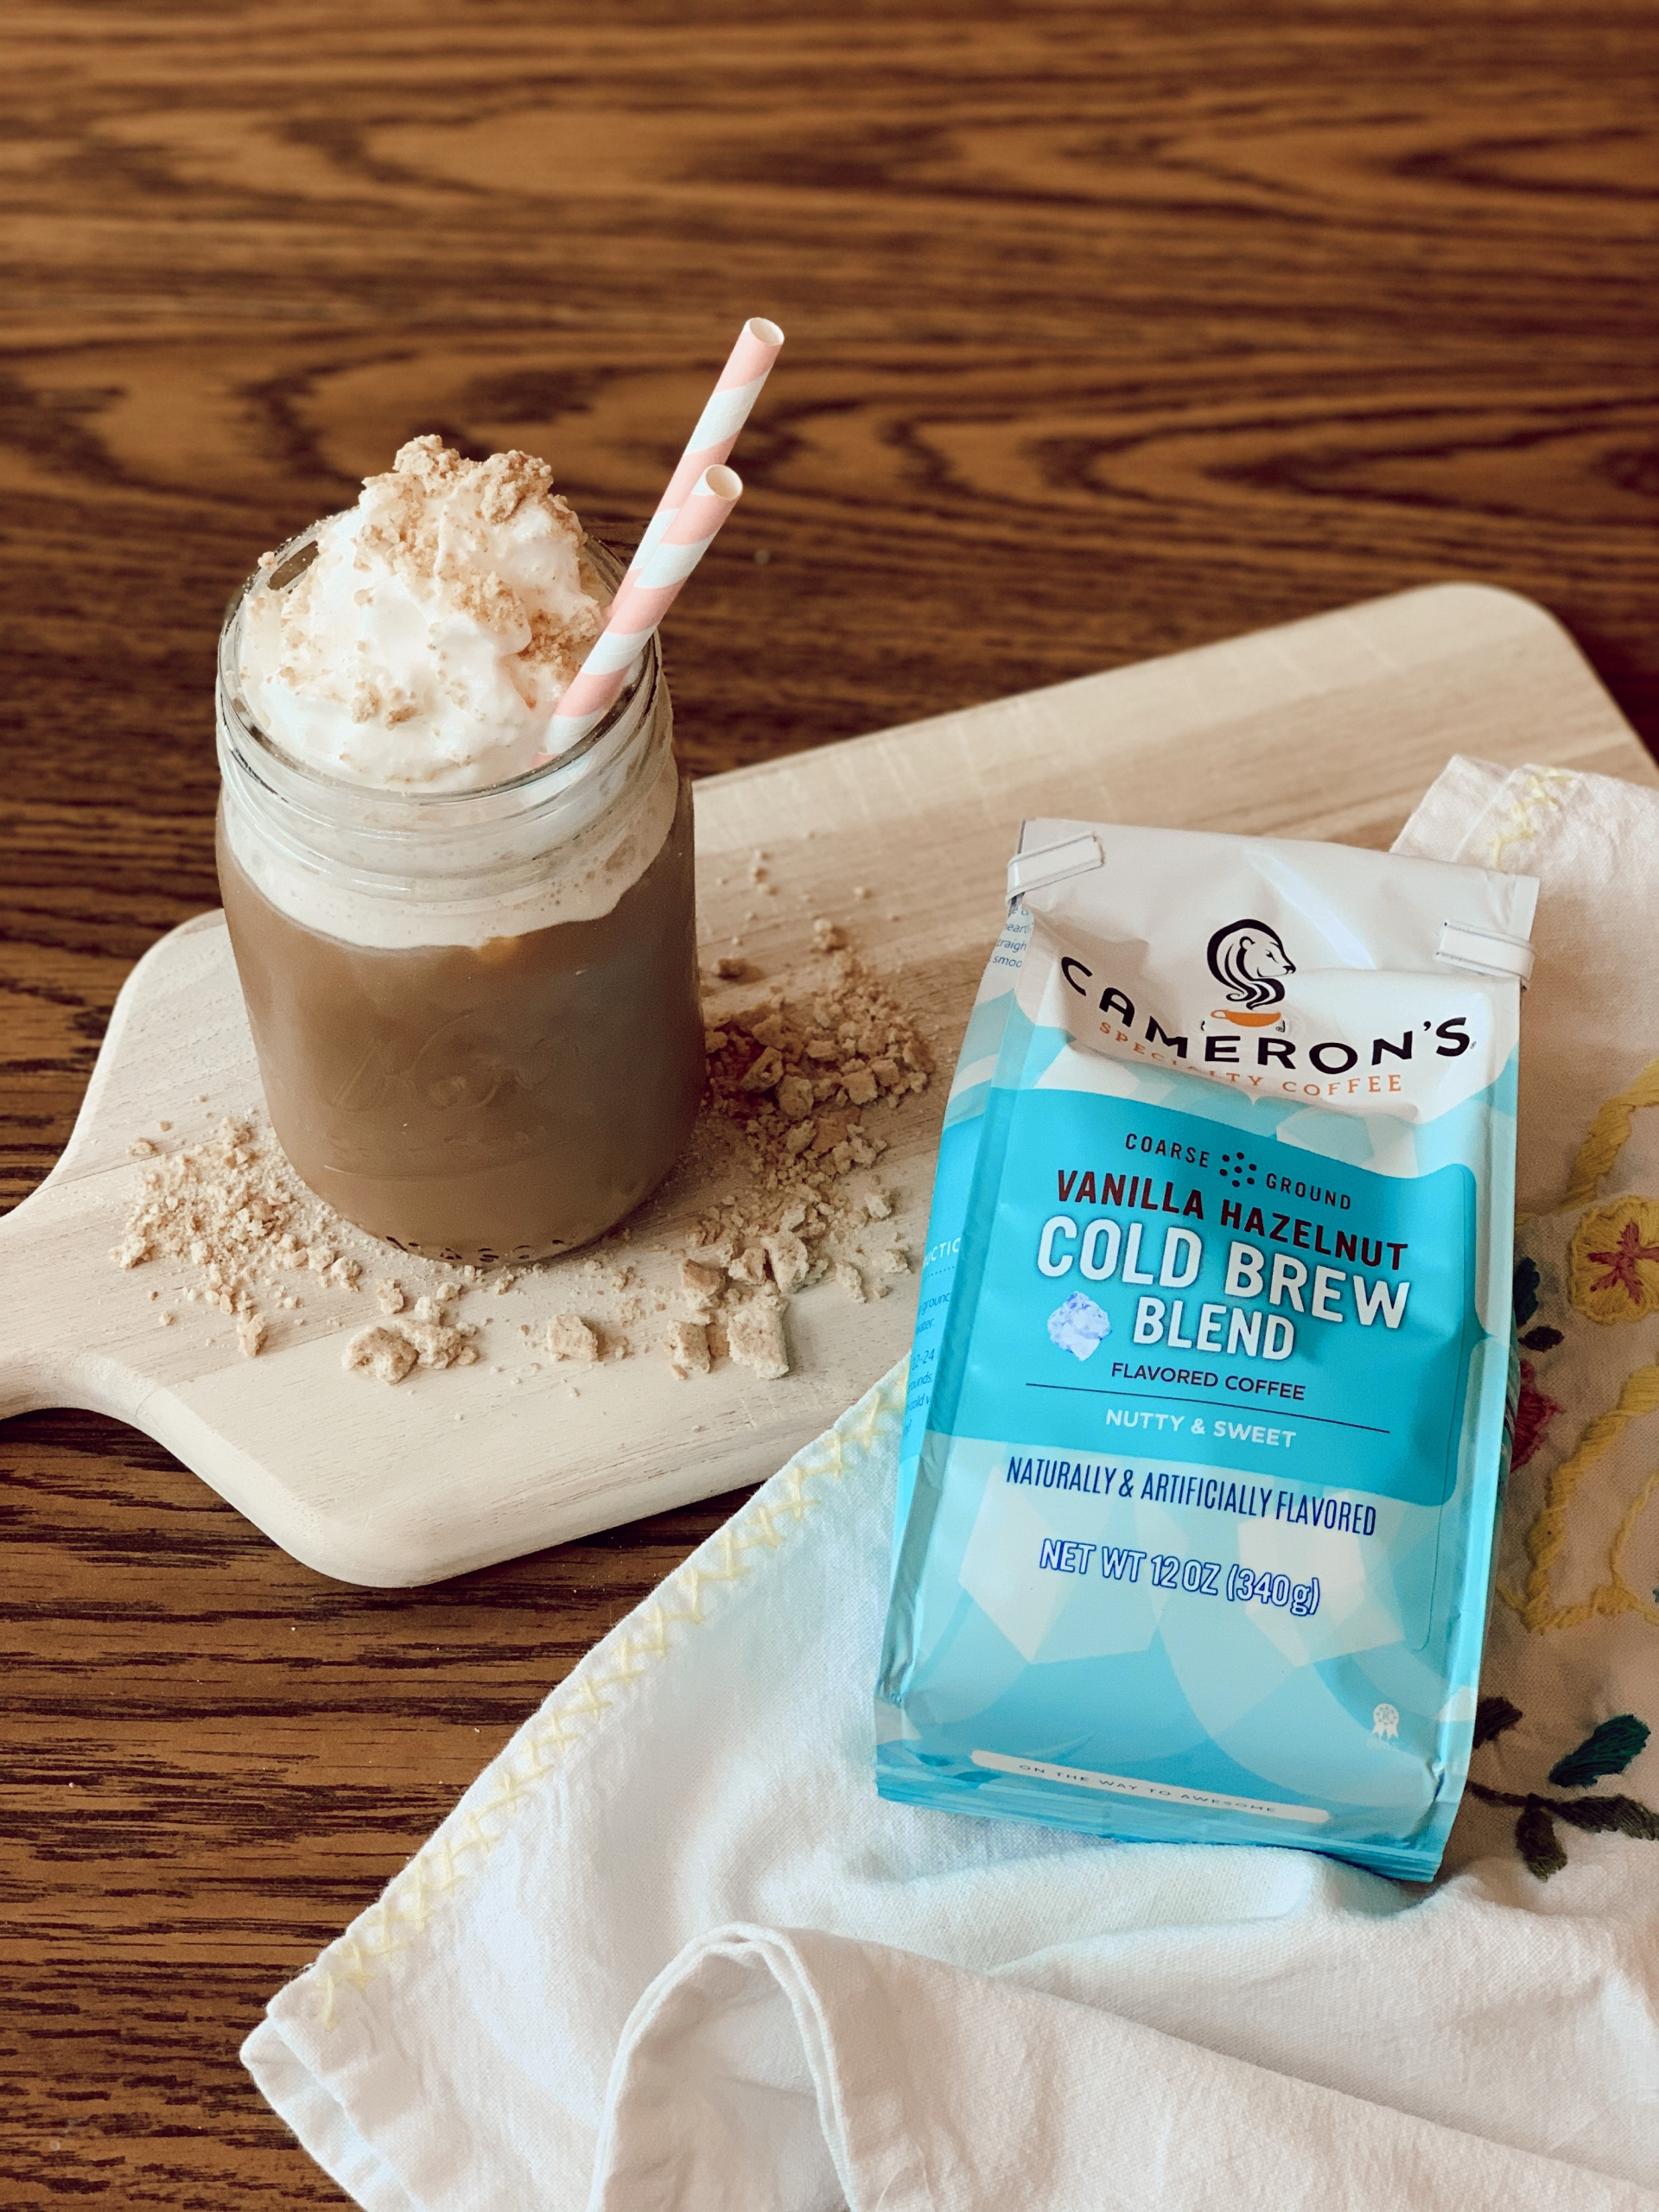
For this recipe, I used Cameron’s Coffee newest seasonal blend: Vanilla Hazelnut. The nutty and sweet flavors go perfectly with this recipe. 

What you need:

  • Iced Coffee
  • Whipped cream
  • Crushed graham crackers
  • Chocolate milk
  • Little Marshmallows

Instructions:

  1. Add 1/4 cup of chocolate milk and whipped cream to iced coffee. Beat until uniform.
  2.  Top the iced coffee with whipped cream, sprinkle graham crackers, and add a few marshmallows.
  3. Add a straw and enjoy!

Try this recipe and let me know how you like it. You can also watch the IGTV video where I make this recipe in real-time.

https://www.instagram.com/tv/CAvA7iXpVlx/?utm_source=ig_web_copy_link
May 30, 2020 1 comment
0 FacebookTwitterPinterestEmail
CollaborationLifeStyle

Rad Power Bikes Review and Experience

by Gabrielle Loomis May 18, 2020
written by Gabrielle Loomis

Rad Bikes have changed the way my family and I get around.

Why did I get a Rad Power Electric bike? This idea wasn’t on my radar until my husband became obsessed with the idea of getting an electric bike. After hours of doing research, he came up to me with literally an “elevator pitch” to convince me to invest in one. He learned about Rad Power Bikes after hours of searching for the best electric bike for the price. He didn’t want to drop six grand on a bike, and that surely wouldn’t fly with me. I have to say, it wasn’t hard for him to convince me after showing numerous YouTube videos and looking at Rad’s website. Now the question was, which bike to choose?

We hadn’t ridden our bikes in years since we didn’t have a “good” bike system to bring our two kids on rides with us. We were both itching to go on bike trips, but what would we do with our kids? They aren’t ready to ride their bikes on long distances. That’s when we decided that the Rad Wagon was THE perfect bike for my husband.

The bike didn’t seem to come soon enough. It only took five days to arrive from Seatle to Wisconsin. The thing is, my husband, he is very impatient when he gets excited, and let me tell you, I had never seen him this excited in the ten years that we’ve been married. He legit refreshed the FEDEX tracking page every 30 minutes for five days until the bike finally arrived.

Fast forward a few days later, I was jealous! I really was jealous. I wanted a bike too. That’s when I decided to reach out to Rad for a collaboration.

A week later, we were assembling a Radcity Step-Thru 3 for me.

Let me tell you; these bikes have changed how we get around, the way people look at us (people stare and wow at us every.single.time we ride), and the way we have fun. We have replaced our cars with our bikes. We do small grocery shopping; we do curbside pickup; we ride everywhere we can go on our bikes. It feels incredible to ride; it feels great to ride “green” and to have fun while doing it. The coolest thing about e-bikes is that you can ride far. The battery can last up to 45 miles, depending on wind, hills, weight, pedal assist level, and throttle.

Now, if you are not very familiar with electric bikes, let me explain how they work.

How Rad Power Electric Bikes work:

It’s not because a bike is electric that you don’t have to push. You have the option to change the pedal assist (the speed) from 1-5. At pedal assist 5, you can go as fast as 25 miles per hour. If you want to get a workout, you can use pedal assist 1 or 2 and still push when pedaling. You also have the option to throttle. That comes in handy when you are at a stop sign and have to cross. The less pedal assist you use, the longer the battery will last. Ah, one more cool thing, when you brake, the bike regenerates power back into the battery.

I think you can tell that we LOVE our bikes by everything I told you so far.

Also, I can tell that in the next two months we will see a lot of Rad bikes in our small town. I can’t count how many people have stopped us to ask about our bikes. One person literally stopped traffic to ask about the bike, and we know of four people that have purchased them so far. My husband and I call ourselves the Rad Couple. People recognize us on the streets.

I hope I inspired you to get a Rad bike. If you have any questions, feel free to DM me on Instagram or call Rad Power Bikes customer service.

Watch my YouTube video assembling and testing out the bike for the first time.

May 18, 2020 0 comments
0 FacebookTwitterPinterestEmail
  • 1
  • …
  • 3
  • 4
  • 5
  • 6
  • 7
  • …
  • 27

LiketoKnow.it

Social Counter

Color Me Sassy
  • Home
Color Me Sassy
@2021 - All Right Reserved. Designed and Developed by PenciDesign